NuWave electric pressure cooker employs Dynamic Pressure Control Technology, maxmaking...
Read More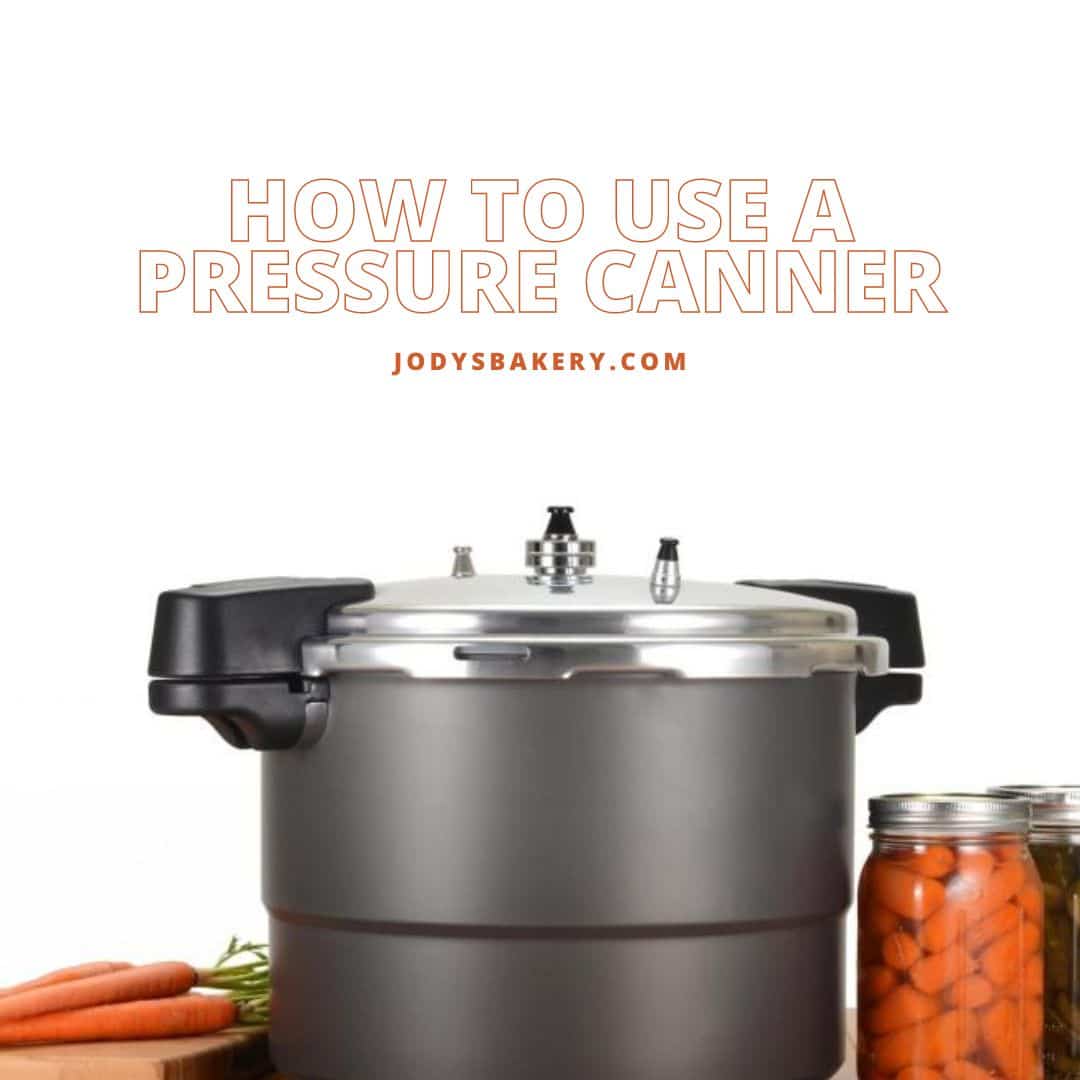
Vegetables and meats are the only foods that are suitable for pressure canning. You must be familiar with pressure canning if you wish to can green beans, meats, or soups. The pressure canning method is nearly identical to boiling-water canning, but the equipment is different. When a recipe calls for a pressure canner, you must use one to ensure food safety. We will demonstrate how to use a pressure canner.
Canning under pressure used to be considerably more intimidating than it is now. How could we not be frightened after hearing our grandparents’ stories about pressure canners exploding?
Fortunately, manufacturers have vastly improved safety features and even the materials used to create pressure canners, so you can put your fears of kitchen explosions to rest and begin pressure canning green beans, fish, corn, meat, and other low-acid foods (those with a pH greater than 4.6). To help you master this kitchen skill and preserve all summer produce, we have compiled our best Test Kitchen pressure canner tips and step-by-step instructions on using a pressure canner.
Our Top Picks
What Is a Pressure Canner and How it Works
People often mistakenly believe that a multi-cooker like the Instant Pot can be used for canning because of the rise in popularity of pressure cooking with such devices. However, a pressure canner, such as this T-Fal pressure canner from Macy’s (for $109.99), is required for pressure canning.
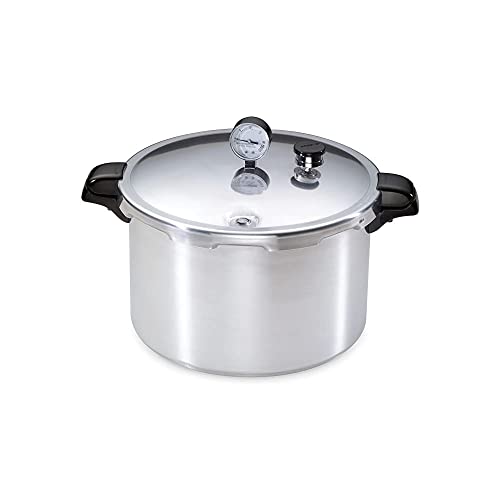
What, then, is a pressure canner? A pressure canner consists of a large pot with a lid that locks onto the pot and a dial or weighted gauge that allows the steam pressure inside the pot to be controlled by adjusting the burner heat.
Highly pressurized steam exceeds the boiling point of water by a wide margin. Jars are heated to 240 degrees Fahrenheit, which is hot enough to destroy the spores that cause botulism toxin (a boiling water canner only heats to 212 degrees Fahrenheit).
Since steam is used for the cooking process rather than boiling water, only two to three inches of water need to be added to the bottom of the canner.
Pressure Canner Regulators
The pressure regulator is a dial or knob-like device on top of all pressure canners. It allows you to regulate the pressure within the canner. Three types of regulators exist:
This is the most sold pressure regulator today. To adjust the weight of the pressure canner to 5, 10, or 15 pounds, add or remove weight rings. Place the regulator on top of the vent pipe to begin pressurization. Adjust the heat to control the rattling sound produced as the pressure in the canner increases or decreases.
A dial regulator is more prevalent in older pressure canners and displays the same internal pressure. Adjust heat up or down to maintain the specified weight in the recipe. The accuracy of a dial regulator must be examined annually.
Weighted-Gauge Regulator: This metal disc must be positioned correctly on the vent pipe to process at 5, 10, or 15 pounds. Like the one-piece pressure regulator, it produces a rocking noise.
Step-by-Step Pressure Canning
After preparing your pressure-canning recipe, here’s how to safely can your food under pressure.
1. Warm the jars
Fill the canner with 2 to 3 inches of water. Bring water to a simmer (180 degrees Fahrenheit) with the lid ajar (not locked). Add a small amount of water to the jars before placing them in the pressure canner, so they do not float. Place the lid back on the jars and allow them to become scalding hot. They will be able to add food after a few minutes. Remove one jar, fill it, and return it to the canner before removing another jar. Using a jar lifter like this Progressive jar lifter is the safest method for removing and adding jars to a pressure canner.
Always remove and replace one jar when filling any canner.
2. Fill the Jars
Fill only hot jars; do not fill jars that have cooled. Pack the food as tightly as possible into the jar without crushing it. Use the funnel included in this Ball utensil set to maintain clean jar rims.
Add the hot liquid as specified in the recipe. Adjust the headspace based on measurements.
3. Remove Air Bubbles
Using a thin, flexible spatula, slide it between the jar and the food to release the trapped air. If more hot water is required for headspace, add it.
4. Clean the jar rim and add the lids
Wipe the threads and edge of the jar with a clean cloth. Install the lid and tighten the band to fingertip tightness. This is essential so that air can escape for an effective seal. Return the previously filled jar to the canner before filling the next jar.
5. Fill the Canner and Lock the Lid
Place the last jar in place. The water level in the canner should reach no more than a few inches above the jars.
Place the lid on the pressure canner and twist the handles until they lock. Add the regulator later.
6. Vent the Pressure canner
Turn the heat to its highest setting and allow a full head of steam to escape the vent pipe. Allow for 10 minutes of ventilation. If necessary, adjust the weights on the pressure regulator of a weighted-gauge canner, and place the pressure regulator on the vent pipe to close it.
7. Acquire the Appropriate Pressure
If the canner has a safety valve, the valve will move from the down to the up position, indicating that the canner is under pressure. Avoid opening the can. Adjust the heat to make a steady rattling sound once the pressure regulator begins to shake. Adjust the timer to the time specified in the recipe (adjust for altitude, if necessary). Start timing a dial-gauge canner when the gauge reads 11 pounds.
8. Release the pressure and open the canner
When the cooking time has expired, turn off the heat. Do not open the lid. Please wait until the safety valve returns to its original position, or the dial reaches zero. This indicates that the can is no longer under pressure and is safe to open.
Uninstall the pressure regulator. Unlatch the handles and open the canning jar away from you so that any steam can escape.
Cool the Jars
Allow the jars to cool slightly in the canner for 10 minutes. They should be removed from the canner and placed on a wire rack or kitchen towel. Do not tighten lids. Allow cooling for 12 to 24 hours. Test lid seals by applying pressure (it should not pop up or down). Soon-to-be-consumed, improperly sealed food should be refrigerated. Keep the remainder in an excellent, dry location and consume within one year. Mark the date on the can’s lid with a permanent marker, so you don’t keep food for longer than a year.
Comparison of Pressure Canning and Boiling-Water Canning
Low-acid foods susceptible to harboring pathogenic microorganisms are processed in pressure canners. They heat food at a higher temperature than boiling-water canners to kill microorganisms. The pH of foods low in acidity is more significant than 4.6. Vegetables, soups, stews, and meat sauces are typically low in acidity. Unless a substantial amount of an acidic ingredient (such as vinegar) is added, low-acid foods must be processed in a pressure canner at a higher temperature.
Canning pots are essentially large pots with a lid and a rack at the bottom. They are utilized for acidic foods, which naturally resist the growth of bacteria. The pH of acidic foods is 4.6 or lower. Both citrus juice and vinegar are highly acidic. Due to this, most pickles and salsas are considered high-acid, even though they may contain low-acid ingredients, such as green beans and beets.
Related Posts
Ninja OL701 Foodi Pressure Cooker
It is difficult to pronounce the Ninja Foodi Smart XL...
Read MoreInstant Pot Duo Plus 9-in-1 Electric Pressure Cooker
The Instant Pot 9-in-1 Duo Plus 6 Qt. Programmable Electric...
Read MoreCOSORI Electric Pressure Cooker
The COSORI Electric Pressure Cooker is a versatile and convenient...
Read MoreWhy Trust Us
You will find what you are looking for at Jody's Bakery. From classic to luxury brands, you'll find both. We will help you to select appliances that fit your needs, budget and lifestyle. Whether you want to stop by to learn more — or plan to make a major purchase — we’ll treat you like family and assist you every step of the way. Shop with us today to receive friendly and experienced help along the way.






Wow, marvelous blog layout! How lengthy have you ever been running a blog for?
you made running a blog glance easy. The entire glance of your site is excellent, let
alone the content! You can see similar here najlepszy sklep
This piece of writing is genuinely a fastidious one it
assists new net users, who are wishing in favor of blogging.
I saw similar here: Sklep online
Hello! Do you know if they make any plugins to assist with SEO?
I’m trying to get my blog to rank for some targeted keywords but I’m not seeing very good success.
If you know of any please share. Many thanks! You can read similar article here:
Sklep online
It’s very interesting! If you need help, look here: ARA Agency
Hey there! Do you know if they make any plugins to assist with Search Engine Optimization? I’m trying to get
my site to rank for some targeted keywords but I’m
not seeing very good gains. If you know of any please share.
Many thanks! I saw similar text here: Scrapebox List
Hi there! Do you know if they make any plugins to assist with Search Engine
Optimization? I’m trying to get my site to rank for some targeted keywords but I’m not
seeing very good gains. If you know of any please
share. Cheers! You can read similar art here: GSA Verified List