Are you familiar with the term “immersion blender”? Do you...
Read More
If you’re looking for an answer to the question, “How to clean a blender?” then continue reading this article, which will teach you how to clean any kitchen appliance.
You may be wondering why some manufacturers recommend drying the device while others recommend wiping it clean with a cloth and water. Regardless of the type of cleaner you use, you must carefully follow the manufacturer’s directions and usage recommendations if you want to ensure that your blender continues to function perfectly for an extended period.
How to clean a blender properly?
While your trusted blender can transform any lumpy recipe into smooth, delectable goodness, you’re left with a total mess, and cleaning the blender itself can be a difficult task.
In comparison to pots and pans, blenders have numerous nooks and crannies, and razor-sharp blades. If you forget to remove the edges from the dishwasher, they can become dull or rusty over time.
You could also dismantle it and clean everything by hand. However, who has time for that between preparing and taking a few minutes to enjoy your blended treat?
Step by step to clean a blender
Cleaning a blender is simple, provided you wash it immediately after use. For a deep clean, use a sponge; use dish soap for a quick and efficient clean. If you can’t clean the blender immediately, at least let it soak in a mixture of soap and water to clean it when you return.
An effective cleaning routine is imperative to ensuring appliance longevity and extends the life of food particles that get caught in the jar’s nooks and crannies.
Before you begin, gather the following cleaning supplies:
- Mild dish soap
- Using a sponge or a dish rag.
- Baking soda (optional)
To thoroughly clean your blender, you must disassemble the jar assembly and clean the gasket, blade, and base. Liquids can seep into crevices and dry, clinging to the base and possibly promoting bacterial growth.
1. Disassemble the Blender
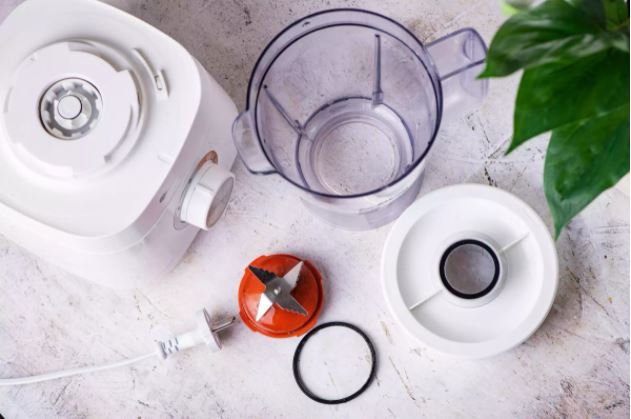
Unplug the blender unit, disassemble the jar assembly from the motor base, remove the jar lid, unscrew the jar base (careful of the sharp blade), and remove the gasket seal and blade.
2. Clean the Jar
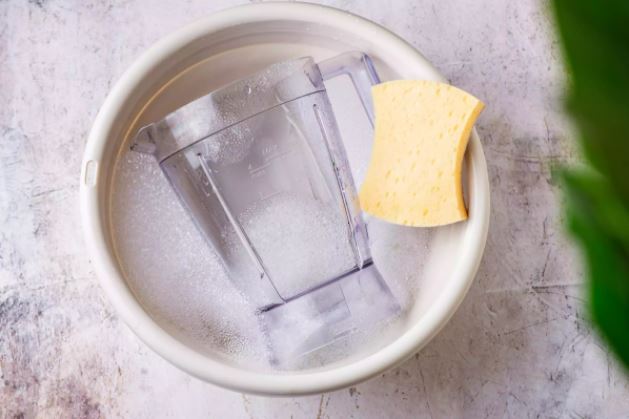
- Use warm soapy water and a dishrag or sponge to clean the jar.
- Rinse it thoroughly, and then carefully dry it.
- The blender’s jar can also be washed in the dishwasher on the top rack, but hand-washing is faster and prevents the etching of glass or plastic.
3. Clean the Additional Small Pieces
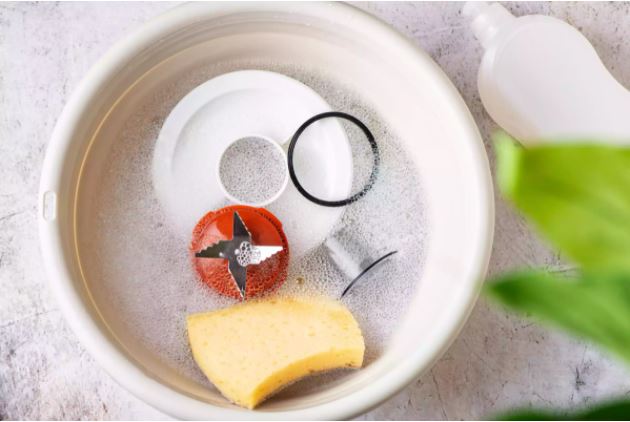
- Clean the gasket seal, the cutting blade, and the jar base by hand (or locking ring).
- Use warm soapy water and exercise caution around the blade’s sharp edges.
- Thoroughly rinse and dry the components.
4. Utilize the Blender to Check for Stuck-on Items
If your blender has been sitting for an extended period without being cleaned, you may encounter some dried-on food. To simplify the process:
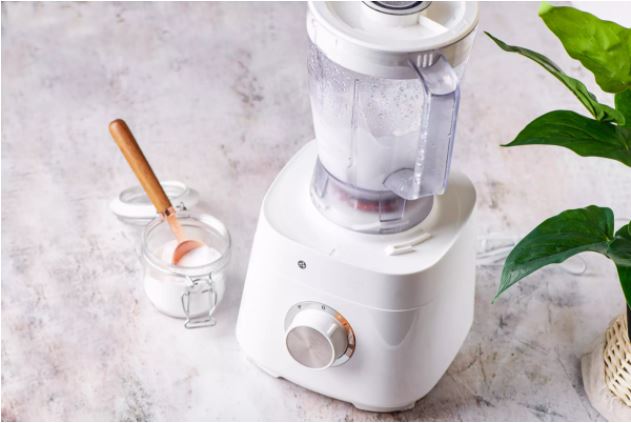
- Combine baking soda and water in a 1:1 ratio and run it through the assembled blender.
- Pour out the solution.
- Dismantle the blender and clean the components as described above.
5. Thoroughly clean the motor housing.
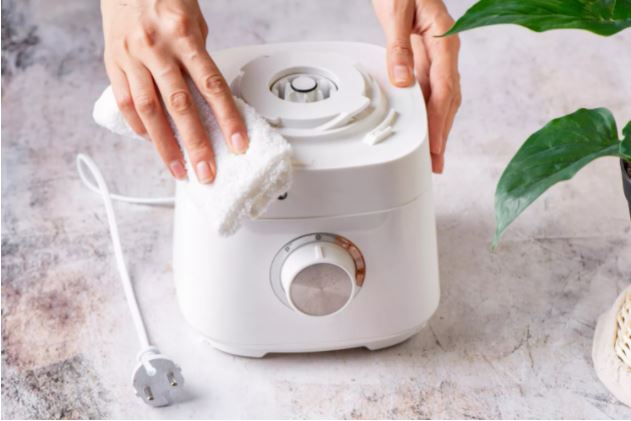
Before cleaning the blender’s motor base, always unplug it.
- Take a wet sponge or towel and submerge it in a warm mixture of soapy water.
- Wring it out until it is damp.
- Gently wipe the blender’s base with the fabric to remove any food or liquid that has spilled.
- Concentrate your efforts on areas with the dried or caked-on blended matter.
Note:
- Before it dries, clean the base. Once blended food and liquids have been caked onto the surface, cleaning the base will be more difficult. Certain substances may become sticky as they dry, while others may stain the material!
- Under no circumstances should the base be submerged in water as it houses the appliance’s electronic motor and control system. These components will deteriorate rapidly when exposed to prolonged moisture. Restrict your cleaning efforts to the exterior only.
- It is also not safe to place in the dishwasher.
- Keep in mind to wipe down the cord and inspect it for damage regularly.
- Clean control buttons with a Q-tip dipped in rubbing alcohol if there is a buildup of blended gunk in the cracks surrounding the blender’s control interface that cannot be cleaned with a sponge or rag. The rubbing alcohol should dissolve any caked-on debris and make using your blender a little more pleasant.
6. Reassemble and Store the Blender
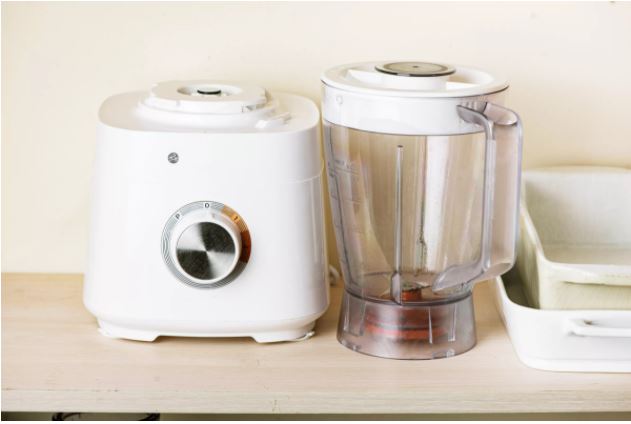
If you frequently use your blender, keep it on your counter or in another readily accessible location. If your blender is only used on rare occasions, store it in a less accessible location.
Cleaning and Maintaining Blenders Tips
Along with the following general tips, consult your owner’s manual for any special cleaning instructions.
- After use, wipe the base and wash the jug immediately. If food or liquid residue dries and hardens, it becomes much more difficult to remove later.
- Ensure that the entire appliance is completely dry before storing it.
- Many blender models have an impeller assembly that can be unscrewed from the jug. This simplifies cleaning beneath the blades.
- Numerous blender lids are detachable in two pieces. Consult your owner’s manual to determine whether yours does. Dismantle both components and clean them separately. It will remove any food that has become stuck in the lid’s crevices.
- Dishwasher-safe glass and plastic jar blenders can be etched and scratched. Hand-washing your blender is the quickest and safest way to keep it clean and looking nice.
- In a blender, odorous foods can appear to linger. Ensure this does not happen by not storing items in the blender. If your blender stinks, blend baking soda and water in a 1:1 ratio in the blender. Allow five to ten minutes for the solution to sit in the blender before washing usually.
How to clean a blender properly - FAQs
Baking soda and vinegar are two of the most effective cleaning agents for a stale blender bottle. Most blender bottles are made of BPA plastics, which tend to retain odors and smells, especially if not cleaned regularly.
Rubbing a sponge over the gasket and dish soap does the trick, while a narrow brush may be required to clean the rubber ring entirely inside. If you want to deep clean, leave them in warm, soapy water for ten minutes to loosen stubborn grime and stains.
In short, not all blenders are dishwasher-safe, and dishwasher-safe only applies to certain parts of the blender. By and large, the majority of blender pitchers are dishwasher safe. Dishwasher-safe parts that are connected to electricity, such as the blender base, are not recommended.
If the container remains cloudy, add a cup of white vinegar and a cup of water as follows:
- A vinegar bath aids in dissolving any remaining film and restores the crystal clarity to your blender container.
- Add a cup of white vinegar and the remaining warm water to fill the container halfway. Allow a few hours or overnight for it to sit.
Conclusion
These are some of the methods for cleaning the various components of your blender. A blender is a necessary kitchen tool because it assists in the preparation of a variety of meals. Proper cleaning ensures that your blender lasts as long as possible and performs optimally.
These techniques are used to remove stubborn stains from your blender and keep it in top condition. Maintaining your appliances will require some commitment and consistency, but with the proper techniques, it will become easier. We hope you find these methods simple to follow and that they produce the desired results.
Related Posts
Best cordless immersion blenders with an honest review
When it comes to saving space, cordless immersion blenders are...
Read MoreBest immersion blender for smoothie and soup reviews – Don’t miss it!
An immersion blender is a little bit of a misnomer...
Read MoreBest blender for frozen fruit
How can you put frozen fruit into the blender? This...
Read MoreWhy Trust Us
You will find what you are looking for at Jody's Bakery. From classic to luxury brands, you'll find both. We will help you to select appliances that fit your needs, budget and lifestyle. Whether you want to stop by to learn more — or plan to make a major purchase — we’ll treat you like family and assist you every step of the way. Shop with us today to receive friendly and experienced help along the way.


… [Trackback]
[…] Information on that Topic: jodysbakery.com/do-you-know-how-to-clean-a-blender-properly/ […]
… [Trackback]
[…] Information to that Topic: jodysbakery.com/do-you-know-how-to-clean-a-blender-properly/ […]
… [Trackback]
[…] Information to that Topic: jodysbakery.com/do-you-know-how-to-clean-a-blender-properly/ […]
… [Trackback]
[…] There you will find 35147 more Info to that Topic: jodysbakery.com/do-you-know-how-to-clean-a-blender-properly/ […]
… [Trackback]
[…] Find More on that Topic: jodysbakery.com/do-you-know-how-to-clean-a-blender-properly/ […]
… [Trackback]
[…] Find More Info here to that Topic: jodysbakery.com/do-you-know-how-to-clean-a-blender-properly/ […]
… [Trackback]
[…] There you can find 45756 more Information on that Topic: jodysbakery.com/do-you-know-how-to-clean-a-blender-properly/ […]
… [Trackback]
[…] Read More Information here to that Topic: jodysbakery.com/do-you-know-how-to-clean-a-blender-properly/ […]
… [Trackback]
[…] Find More on that Topic: jodysbakery.com/do-you-know-how-to-clean-a-blender-properly/ […]
… [Trackback]
[…] Information to that Topic: jodysbakery.com/do-you-know-how-to-clean-a-blender-properly/ […]
… [Trackback]
[…] Read More on that Topic: jodysbakery.com/do-you-know-how-to-clean-a-blender-properly/ […]
… [Trackback]
[…] Here you will find 7865 more Information to that Topic: jodysbakery.com/do-you-know-how-to-clean-a-blender-properly/ […]
… [Trackback]
[…] Read More to that Topic: jodysbakery.com/do-you-know-how-to-clean-a-blender-properly/ […]
… [Trackback]
[…] Read More to that Topic: jodysbakery.com/do-you-know-how-to-clean-a-blender-properly/ […]
… [Trackback]
[…] Find More to that Topic: jodysbakery.com/do-you-know-how-to-clean-a-blender-properly/ […]
… [Trackback]
[…] Information on that Topic: jodysbakery.com/do-you-know-how-to-clean-a-blender-properly/ […]