Slicing bread is a monotonous job, especially when you’re doing...
Read More
Have you ever wondered how bakeries maintain the perfect cut, even thickness, and smoothness of their bread slices? Indeed, this is the job of an electric bread slicer.
An electric bread slicer enables you to save time and consistently cut perfect bread loaves. It is available in a variety of shapes and sizes. Since a variety of brands manufactures them, their design may also vary.
However, the basic electrical bread slicer on the market is nearly identical. Moreover, the advantage is that a slicer is simple to clean and maintain. So, how do we clean a machine that can be used for industrial and household purposes? You can sit and relax, as we are here to assist you.

What is an electric bread slicer?
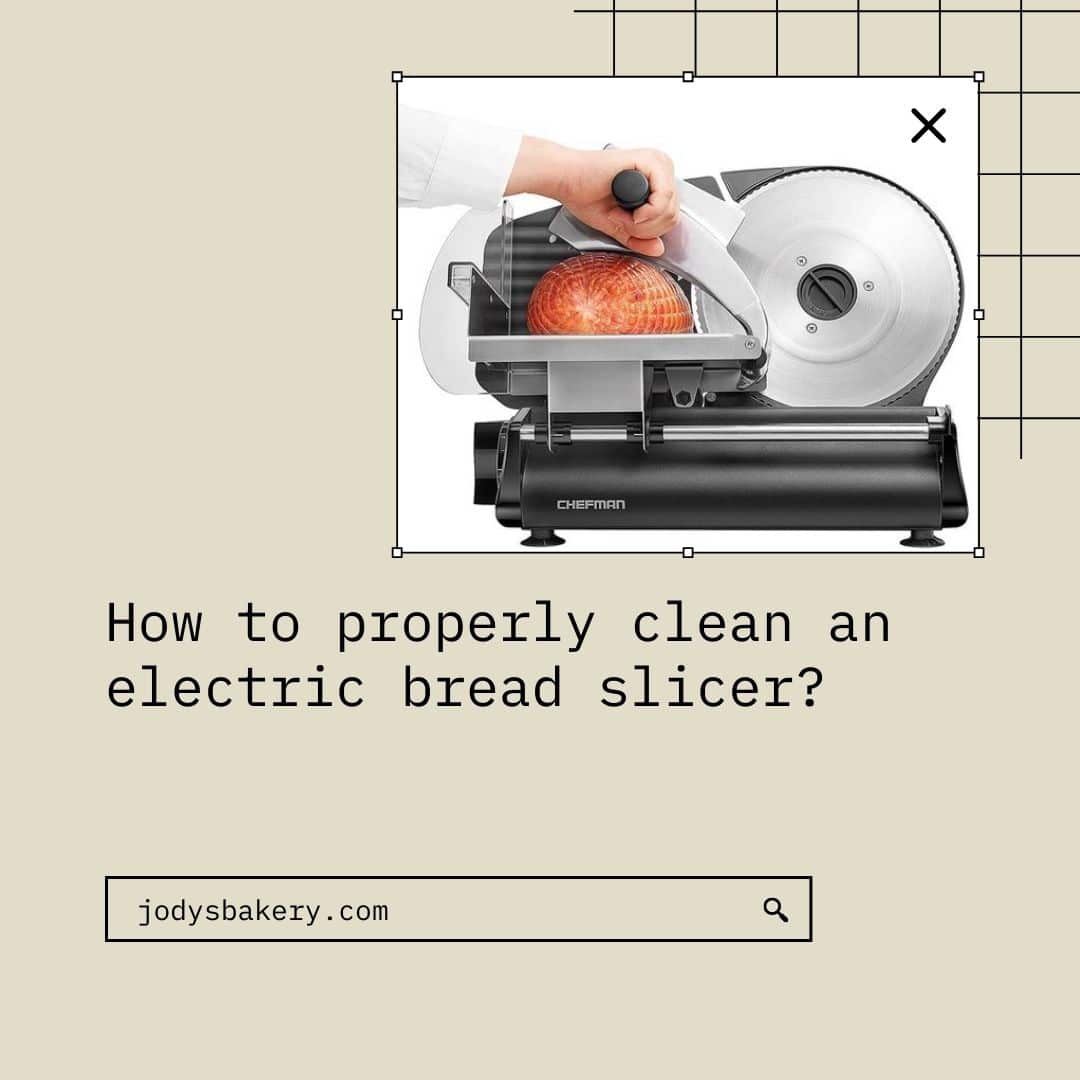
To better understand the equipment before diving into the main question, we must first learn what it is. A helpful kitchen appliance powered by electricity and is used for slicing bread loaves quickly and uniformly is known as an electric bread slicer.
They vary in size, as we all know. The larger ones are suitable for industrial/commercial use, while the smaller ones are more convenient for the kitchen. Typically, these slicers are multi-purpose pieces of equipment. They can effortlessly cut through anything tender into the shape of a bread slice.
How often should you clean an electric bread slicer?
Bread leaves crumbs, which accumulate over time and can obstruct passageways between the mechanisms—because of this, cleaning the slicer is non-negotiable. Occasional cleaning is required.
Now you must decide how frequently your bread slicer should be cleaned. It varies according to the amount of bread you slice at a time. If you consume approximately 50 loaves per day, you recommend cleaning it twice a week.
However, if the slice goes through nearly 500 loaves per day, daily cleaning is recommended, and blades should be replaced every two months for optimal performance.
It has now become apparent to the general public that we must clean our electric bread slicer regularly. However, how is this accomplished?
As with any other electronic device, an electric bread slicer must be cleaned in a properly manner. Failure to complete the work correctly will result in nothing more than time and effort being wasted. Let’s examine the right methods for cleaning an electric bread slicer:
1. Preparation step:
- To begin, wash your hands thoroughly and put on disposable gloves for your safety.
- After that, fill your wash container with warm water and detergent.
- Assure that the sanitizer bottle is filled to the proper concentration with a sanitizing solution, and then transport the solutions to the slicer.
2. Remove the slicer from the power source:
- Turn the blade to zero and turn off the device. Finally, unplug the machine to avoid any potential problems.
3. Alternate your gloves:
- Remove the disposable gloves and replace them with a cut-resistant pair in cleaning the slicer by hand
4. Set the following components aside:
- You should probably look into using the machine manual at this point. Look at it and use the handle to lift the main slicer plate.
- Remove the blade plate as directed in the manual.
- To remove the guard plate, turn the knob located above the plate.
- Finally, disassemble the slicer according to the manual’s instructions.
5. Eliminate food residue:
- Spray sanitizing solution liberally all over the slicer using a spray bottle and wipe it clean with a clean, regular towel to remove any remaining food particles.
6. Disinfect the slicer:
- Dip your multipurpose brush into the detergent solution and scrub the Control knobs, handles, seams, and screws with some pressure.
- To clean the space between the blade and the guide, swab the groove with a heavy-duty towel. Repeat the procedure if necessary to remove all particles.
- You can also use the towel to clean other components such as the front and back of the blade, control knobs, handles, seams, screws, drip tray, and slicer stand by dipping it in detergent.
- Dip the slicer brush in detergent and use it to clean the blade’s center if necessary.
7. Now is the time to rinse:
- Rinse your slicer thoroughly with clean rinse water and a clean disposable towel.
8. Sanitize the area:
- As directed by the manufacturer, spray the sanitizing solution liberally all over the slicer and allow it to air dry. Ensure that the slicer is completely covered.
9. Disassembled components should be cleaned:
- Now, in the three-compartment sink, wash, rinse, and sanitize the disassembled slicer parts.
- Wash with the detergent solution and rinse with water.
- Finally, sanitize the area with sanitizer.
- To achieve the best results, strictly adhere to the manufacturer’s instructions.
10. Finally, reconstitute:
- Reinstall the blade plate over the blade and attach the guard plate to the guard.
- Turn the knobs to secure the device, and then plug it in.
When should you clean and sanitize an electric bread slicer?
Thus, we now know how to properly clean, disinfect, and sanitize an electrical bread slicer.
How you determine whether or not the machine requires cleaning is critical to the process. Cleaning is typically performed as part of routine machine maintenance in a workshop.
Even so, if you are too preoccupied with work and rarely remember to clean, some indicators may draw your attention and prompt you to clean.
Firstly, the fallen crumbs may cause a blockage in the machine’s hollow areas. This electrical machine disassembles into individual components, and if the device is not cleaned correctly, each component’s joint will be compromised.
If you want the blades and the machine to last as long as possible and work as efficiently as possible, you should adhere to the original plan, which calls for cleaning and cleansing twice a week and blade replacement once a year.
FAQ
Slicing machines should be cleaned after each use, whether raw or cooked food is used.
When an electric slicers are in use or turned off but remain powered, the top and bottom of the slicer are risky areas in which the fingers and hands of workers contact the blade, causing severe cuts or amputation.
Conclusion
Consider an electric slicer similar to a car: the more care you give it, the longer its quality and life will last. They are significant capital investments, and proper cleaning and maintenance ensure the slicer’s maximum utility and performance.
Proper maintenance focuses on removing debris and replacing worn blades. All of those loaves leave behind crumbs that accumulate and impair the slicer’s operation, which is why routine cleaning is critical.
A slicer is not comparable to a toaster or a blender. Apart from the mechanism, any malfunctioning electrical equipment must be replaced. However, a slicer’s blades can be cleaned and replaced to restore their effectiveness. This concludes our discussion of how to clean an electric bread slicer.
Related Articles
How to slice bread evenly?
While slicing bread may appear simple, we’ve seen many a...
Read MoreWhy Trust Us
You will find what you are looking for at Jody's Bakery. From classic to luxury brands, you'll find both. We will help you to select appliances that fit your needs, budget and lifestyle. Whether you want to stop by to learn more — or plan to make a major purchase — we’ll treat you like family and assist you every step of the way. Shop with us today to receive friendly and experienced help along the way.


… [Trackback]
[…] There you can find 22892 additional Information to that Topic: jodysbakery.com/how-to-properly-clean-an-electric-bread-slicer/ […]
… [Trackback]
[…] Find More to that Topic: jodysbakery.com/how-to-properly-clean-an-electric-bread-slicer/ […]
… [Trackback]
[…] Read More here on that Topic: jodysbakery.com/how-to-properly-clean-an-electric-bread-slicer/ […]
Hi there, this weekend is pleasant designed for me, because
this time i am reading this wonderful informative article here at
my residence.
… [Trackback]
[…] Information to that Topic: jodysbakery.com/how-to-properly-clean-an-electric-bread-slicer/ […]
… [Trackback]
[…] Read More to that Topic: jodysbakery.com/how-to-properly-clean-an-electric-bread-slicer/ […]
… [Trackback]
[…] Read More here to that Topic: jodysbakery.com/how-to-properly-clean-an-electric-bread-slicer/ […]
… [Trackback]
[…] Here you can find 99020 more Information to that Topic: jodysbakery.com/how-to-properly-clean-an-electric-bread-slicer/ […]
… [Trackback]
[…] Information on that Topic: jodysbakery.com/how-to-properly-clean-an-electric-bread-slicer/ […]
… [Trackback]
[…] Find More on to that Topic: jodysbakery.com/how-to-properly-clean-an-electric-bread-slicer/ […]
… [Trackback]
[…] There you can find 9413 additional Information to that Topic: jodysbakery.com/how-to-properly-clean-an-electric-bread-slicer/ […]
… [Trackback]
[…] Find More Info here to that Topic: jodysbakery.com/how-to-properly-clean-an-electric-bread-slicer/ […]
… [Trackback]
[…] Find More Info here on that Topic: jodysbakery.com/how-to-properly-clean-an-electric-bread-slicer/ […]
… [Trackback]
[…] Information on that Topic: jodysbakery.com/how-to-properly-clean-an-electric-bread-slicer/ […]
… [Trackback]
[…] Find More Information here on that Topic: jodysbakery.com/how-to-properly-clean-an-electric-bread-slicer/ […]