The Instant Pot completely dominated the appliance market in the...
Read More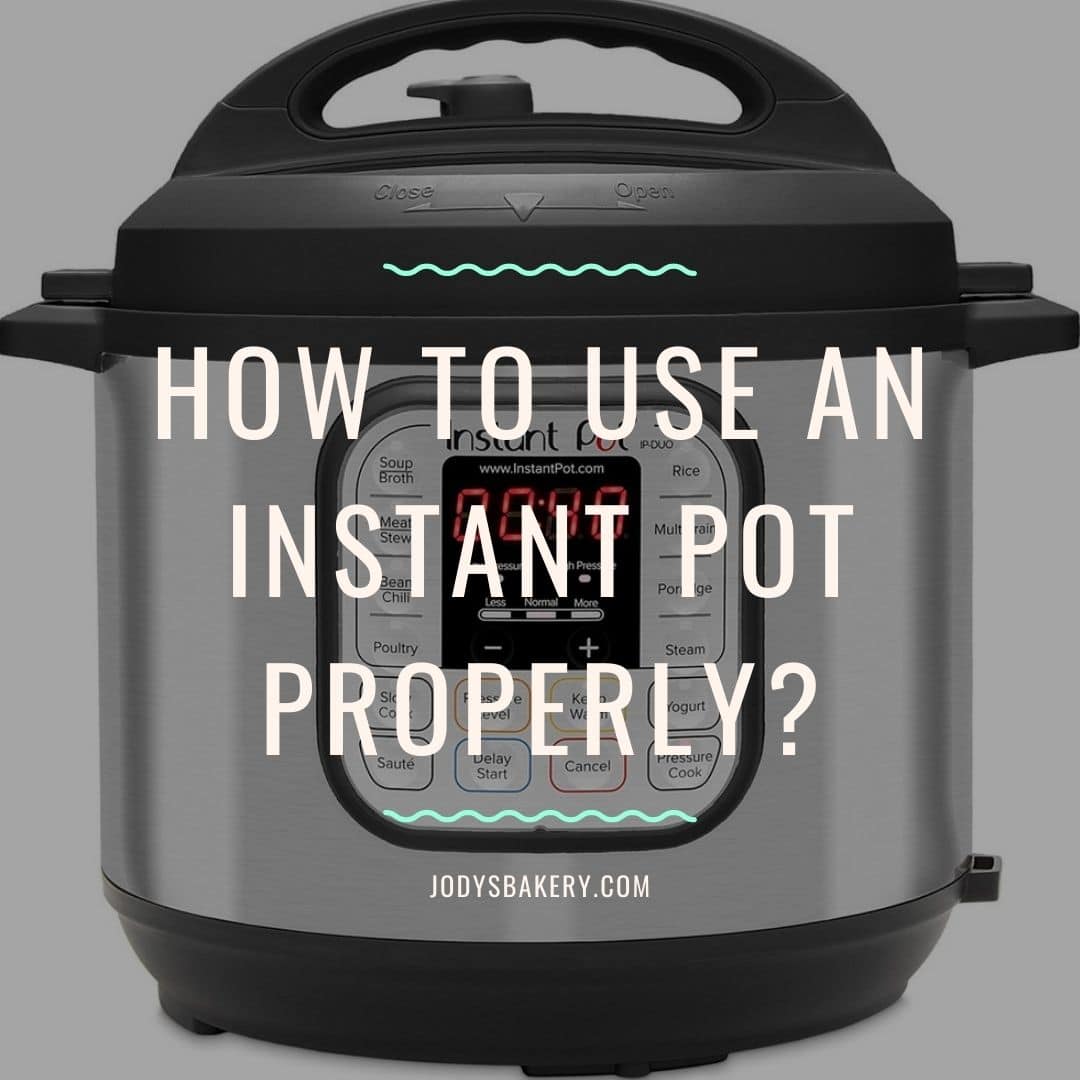
You have probably heard about an instant pot, or you’ve already bought it. However, have you known how to use an Instant Pot properly? After all, if you know how to use it, this is something that can come out of the box and save you a lot of time, right? Whether a novice or a seasoned cook, learning how to use your Instant Pot will help you achieve better results and make the entire process more efficient, resulting in faster food and no clean-up!
Let’s start with the fundamentals of an Instant pot. Whether you have had this item for a while or just bought it, there is something here for you. Let’s get things started.
What is the Instant Pot?
Instant Pot is a pressure cooker that runs on electricity. It is a multi-purpose appliance that can cook foods quickly and thoroughly under high-pressure conditions. Steam pressure builds up inside the Pot, resulting in a higher temperature environment that allows foods to cook more rapidly. Unlike traditional pressure cookers, the Instant Pot is equipped with various safety features that make it safe and straightforward.
Instant Pots combine the functions of a pressure cooker, sauté pan, slow cooker, steamer, rice cooker, yogurt maker, and warmer. We’ve been blown away by my Instant Pot’s versatility and the flavor and texture of the foods I’ve been able to cook in it. Even though cuts of meat can be tenderized by the Instant Pot’s high pressure, it produces rich, complex flavors – seriously, I’ve never had better chili than that made in the Instant Pot!
Unbox an Instant Pot
If you haven’t taken your Instant Pot out of the box, now would be a good time to do so. To open your Instant Pot, turn the lid counter clockwise and lift. To close turn clockwise. Remove any plastic wrap from the inner pot and the accessories.
An Instant pot often comes with some parts and accessories as below:
- Base Unit: this is where the heating element is located.
- Inner Pot: made of stainless steel and fits inside the base unit.
- Lid: the appearance of the lid varies according to the Instant Pot model.
- Steam Release Valve (alternatively referred to as Steam Release Handle): this attaches to the top of the lid and controls “Venting” and “Sealing.”
- Condensation Collector: This plastic container collects excess liquid and prevents it from dripping onto your countertop. You should attach this to the back of your Instant Pot.
- Trivet: use this to steam vegetables or to hold delicate ingredients such as eggs. Keep this handy, as you’ll be referring to it frequently.
- Power Cord: some Instant Pot models have a detachable cord and plugs into the backside of the appliance.
- Measuring Cup and Utensils
- User Manual: An excellent resource for any additional questions.
How to set up an Instant Pot?
The first thing you’ll want to do is thoroughly clean all of the components of your Instant Pot. Even though the Instant Pot’s lid, steam release valve, and stainless steel inner pot are all dishwasher safe, we prefer to wash by hand. The base unit should not be washed in the dishwasher and should never be submerged in water.
Within the Instant Pot, insert the stainless steel pot. (Ensure that the orange warning label is removed.)
Check that the anti-block shield is installed and secure. A critical safety feature is an anti-block shield. This metal shield protects the steam release valve from clogging with food or particles. Ensure that this is always in place and free of food before using the pot to avoid creating an unsafe amount of pressure.
The silicone sealing ring should be used to line the inside of the lid. This is typically pre-assembled.
Adjust the condensation collector until it snaps into place on the backside of the Instant Pot.
Connect the power cord in the direction of the back and bottom.
How to use the Instant Pot to cook
There are a few fundamental concepts to understand before using an Instant Pot electric pressure cooker. After a few times with yours, these will become second nature. The buttons on your Instant Pot may be labeled differently depending on the model. Consult the instruction manual included with your Instant Pot.
Power cord plugin to the outlet wall: It would be best if you placed the Instant Pot close to a window or door to vent the pressure outside rather than inside.
Fill Level: Two lines are marked inside the Instant Pot inner pot: 1/2 and 2/3 lines. Never fill the Instant Pot more than the 2/3 line with food or liquid (before cooking). Don’t fill the Instant Pot more than the 1/2 line if you’re cooking something that will expand during the cooking process, like rice, quinoa, or beans.
Closing the Lid: There will be a track on the back upper edge of your Instant Pot base. Grasp the lid handle and close it clockwise, using the track as a guide. On the base unit, the arrow beside the locked symbol should correspond to the arrow on the front of the Instant Pot lid. When the lid of your Instant Pot closes, if it is plugged in, you will hear a chime.
Sealing the Instant Pot: Set the Instant Pot’s steam release valve to the “sealing” position. The steam release valve is tended to be a little wobbly and to fit loosely. When using your Instant Pot to pressure cook, make sure the valve is in the sealing position.
Control Panel
Your Instant Pot is equipped with a slew of buttons. And the best recipes incorporate multiple of them. We’ll examine the control panel and determine which buttons require special attention.
- The “Sauté” button enables you to sauté foods in your Instant Pot. This is convenient because it eliminates the need for a second pot on the stove. In your Instant Pot, you can sauté and brown foods. Brown your protein (beef or chicken) in oil (or another fat). This stage also browns aromatics, such as garlic and onion.
Additionally, you can use sauté mode to thicken sauces that have been pressure cooked. The timer will default to 30 minutes when you press the sauté button. However, you can cancel it at any time by pressing the cancel button.
By pressing the button, you can adjust the heat level while sautéing. You will notice the word “Less.” As you navigate through the options, the terms “Normal” and “More” become highlighted.
Note:
- When using this function, ensure that the lid is OFF so that you can stir your ingredients.
- Never place the base unit or inner pot of your Instant Pot on the stovetop.
- Slow Cook: This is a setting for non-pressure cooking.
- If the metal lid is used, ensure that the pressure release valve is in the venting position.
- When slow cooking, a glass lid may also be used to view the contents.
3.”Manual”/ “Pressure Cook” Button: For Instant Pot models, the “Manual” button is also known as the “Pressure Cook” button. You will press this button to begin a pressure cooking cycle. This is the standard pressure cooking button.
Plus (+) and Minus (-) Buttons: These buttons allow you to modify the cooking time.
These are used to control the timer in the LCD’s center.
The timer indicates how long you want your Instant Pot to cook for and is specified in the recipe you’re following.
“Cancel/Keep Warm” Button: This button is used to terminate a cooking program or to turn on/off the keep warm function. (When a cooking cycle is complete, the Instant Pot switches to keep warm mode automatically.)
LCD Display
- Indicators of Mode:
- Below the timer, you’ll see the cooking modes “Less,” “Normal,” and “More.”
** These are advantageous when cooking in sauté and slow cook mode as they represent various heat levels and allow for precise heat control.
** When used in conjunction with the pressure cook function, these modes alter the cooking time.
Indicators of Pressure:
- “Pressure” (sometimes referred to as “Pressure Level”) Button: it allows to toggle between high and low-pressure settings. Almost every recipe for the Instant Pot will instruct you to cook at high pressure.
- “Program” buttons: on your Instant Pot may include Soup/Broth, Bean/Chili, Meat/Stew, Cake, Egg, Rice, Multigrain, Porridge, Yogurt, Steam, and Slow Cook. These programs include pre-programmed cook times.
Float Valve
- As the Instant Pot builds pressure, the float valve will remain in the down position.
- After 5-10 minutes, the float valve should rise to meet the lid.
- The more ingredients contained within, the longer it will take for the pressure to reach its maximum.
- Once the contents have finished cooking, turn the pressure release valve to the venting position.
Pressure release
When the cooking time on your Instant Pot expires, there is one more step remaining: pressure release. There are three methods for releasing pressure:
- Natural Pressure Release: the valve on the lid remains in the Sealing position with natural pressure release, and the pressure dissipates naturally over time. This method is the most time-consuming but results in the most tender food.
Depending on what you were cooking, this could take anywhere from 20 minutes to more than an hour. Low-liquid meals, such as chicken drumsticks, take much less preparation than high-liquid meals, such as soup or chili.
10-minute Natural Pressure Release: Using this method, you will wait until the food has been in the cooker for ten minutes past the initial timer and then turn the valve to release the pressure.
Quick Release: When the timer sounds, you immediately release the valve. Here, you’ll carefully turn the valve to the Venting position and observe as steam escapes, releasing the pressure. This method is significantly faster, but very liquid meals, such as soup, may take up to 15 minutes to release pressure manually.
Which one, then, should you use? Consider that when the natural pressure release occurs, the Instant Pot remains under pressure, which means that the food will continue to cook (albeit at a slower rate) while the Instant Pot is in Sealing mode. Manual pressure release is advantageous – and necessary – when sufficient cooking time has been allowed, and cooking must be halted as quickly as possible.
If the goal is to prepare a meal quickly, program the Instant Pot with enough time to cook the food and quick release the pressure when the timer goes off.
Note:
- It is recommended that you drape a towel over the pressure release valve for all of these methods to catch any excess steam.
- Additionally, use a wooden spoon to prevent yourself from being burned when the steam is released.
The two crucial safety instructions for your instant pot
Although the Instant Pot manual is replete with safety instructions, the following two are critical to remember:
- While the Instant Pot is on, avoid putting your face anywhere near the steam release valve or float valve. We use a wooden spoon with a long handle to prevent my hand or arm from coming into contact with the valve opening. It doesn’t matter what kind of utensil you use as long as it has a long handle.
To avoid burns, you can either use oven mitts to turn the steam release valve to the “venting” position or carefully press down on the release valve while waiting for the pressure to escape.
- In addition, it is also essential to remember never to open the Instant Pot’s lid until the pressure has been released by way of the steam release valve. When the float valve pin drops down, you know that all the pressure has been released.
The color of the float valve will vary depending on which Instant Pot model you have. When the pot is pressurized, it may rise above the level of the lid, or it may increase to a level that is flush with that of the lid.
If a recipe specifies a natural release, wait the appointed time for the natural release and then switch the steam release valve to the “venting” position to ensure that all steam and pressure have been released. As soon as the float valve drops, it is safe to open the Instant Pot lid. Slowly open the cover, tilting it away from your face to avoid any hot steam.
Never attempt to open the Instant Pot’s lid while it is under pressure.
Check your Instant Pot after each use
Carefully remove the stainless steel inner pot from the instant pot base. The heating element will be visible. Before using the Instant Pot, ensure that the heating element is clean and dry. We always thoroughly dry our stainless steel inner pot after washing it before reattaching it to the base unit.
Inspect the silicone sealing ring to ensure it is securely attached to the lid and is clean and free of tears.
Gently pull the steam release valve straight up from the Instant Pot lid. Ascertain that it is clean and debris-free. Certain foods, such as applesauce, pasta, and oatmeal, may foam and froth during cooking, clogging the steam release valve. Each time you use your Instant Pot, check the steam release valve. If it is dirty, thoroughly clean it under running water before replacing it on the Instant Pot lid.
Inspect the float valve for cleanliness and debris. Clean it as needed with warm water. You may wash the lid as required by submerging it in running water.
Keeping all components of your Instant Pot clean and in good working order can help you achieve the best results when pressure cooking.
What can the Instant Pot be used for?
In less than 30 minutes, the Instant Pot can cook a hearty meal for the entire family. Rice and chicken, beef stew, chili, and even a whole-roasted chicken are already in 30 to 60 minutes. And you can use the Instant Pot for baking bread as well.
While followers of the paleo and ketogenic diets adore the Instant Pot for its ability to quickly “braise” meats, vegetarians and vegans love it to promptly cook dishes like butternut squash soup, sweet potatoes, chili, steel-cut oats, and mac-and-cheese. Even dry beans typically soaked overnight can be cooked in about 30 minutes for dishes like chili and hummus.
Additional Instant Pot hints
After about a year of owning our Instant Pot, we’ve made a few mistakes and learned a few lessons that we’d like to share. Here are some pointers to help you accelerate your learning curve with the Instant Pot.
- Minimum Liquid Requirement: Every time you use your Instant Pot, you should use at least 1 cup of liquid as a general guideline. Steam and pressure are used for cooking food in the Instant Pot, and fluid is required to generate the steam and pressure. There may be a difference in the amount of liquid needed in some recipes. While you are learning how to operate an Instant Pot, I recommend sticking to recipes from a dependable source.
Consequently, even if you’re attempting to keep things simple with something as simple as chicken breasts or thighs, remember to add a 1 cup of sauce, broth, or water to the Instant Pot before turning on Pressure mode.
Ascertain that the lid valve is set to the Sealing position. If the valve is set to the Venting work, no pressure will ever build up. When locking the lid in place for pressure cooking, ensure that it is in the Sealing position.
Safely Removing the Lid: Never attempt to take off the Lid of the Instant Pot while it is pressurized. Wait until the Lid’s float valve (pin) drops to indicate that the pressure has been released. Then, while holding the Lid’s handle, counterclockwise turn it and carefully lift.
Using the Trivet: When you want to raise food off the bottom of the Instant Pot, use the metal trivet that came with it. You can use the trivet to keep certain foods out of the liquid in the pot’s base or away from the direct heat on the bottom of the pot. When cooking hard-boiled eggs or baked potatoes, for instance, you’ll place them on the trivet.
After preparing a sufficient number of delectable meals, your Instant Pot will develop an odor and possibly some food stains. Please follow some instructions from the manufacture for cleaning the Instant Pot and its silicone ring.
Cooking protein from frozen is not recommended in non-instant Pot recipes. This is because traditional cooking methods take excessive time to heat the protein, exposing it to an excessive amount of time in the dangerous temperature zone. However, with the Instant Pot, you can safely cook food from frozen. (Additional cooking time is recommended.)
A recipe that takes eight hours to prepare in a slow cooker can be completed by an instant pot in less than an hour.
Cooking Time vs. Total Time: A cooking cycle will take longer than the recipe’s actual cook time. Your Instant Pot will require some time to reach cooking pressure before the cooking time begins. It takes approximately 10 minutes and varies depending on the size of your Instant Pot, the type and quantity of food, and the temperature of the food and liquid in the pot. Additionally, you must factor in the time required to relieve the pressure following the cooking cycle
Assume you’ve programmed the Instant Pot for 30 minutes in Pressure mode. That period does not begin until pressure builds, which typically takes about ten minutes. Additionally, you’ll want to allow approximately 10 to 15 minutes for the pressure to release. Finally, a “30-minute” recipe may take between 50 and 60 minutes.
How to store an Instant Pot
Storing your cooker in this manner, with the lid upside down and the gasket loose is the best way to do so. Condensation accumulates in the gasket, becoming moldy if the cooker is locked with a damp lid.
This method promotes adequate air circulation. We are aware that it does not look lovely on a countertop. At the very least, never store your cooker with a damp lid.
How to use an instant pot properly - FAQs
What to do is as follows: To begin, inspect the gasket. Assure that it fits snugly in the lid’s ring; 99 percent of the time, if your Instant Pot does not come to pressure, it is a simple matter of the gasket not fitting snugly in the ring. Following that, fill the insert with three cups of water.
Before you begin cooking any food, check it by heating some water under pressure. You use your pressure cooker the same way you would if you were cooking something, except that you only add 2 cups of water. For this test run, you are adding nothing to the cooker except water.
The Instant Pot has been demonstrated to have ten built-in safety mechanisms. No need to worry. More often than not, accidents are caused by the user and can be avoided simply by the following procedure.
Even if you’re content cooking on the stove or in a slow cooker, an Instant Pot may be worth the investment simply for the convenience of the recipes. Therefore, if you’re looking to experiment with new recipes without putting in a lot of effort (or if you’re unfamiliar with cooking), an Instant Pot may be worth your money.
Conclusion
Knowing how to use your Instant Pot will help you get better results with less clean-up. Also, knowing how to use it will ensure that you do not ruin valuable kitchen space if you leave the pot unattended for long periods.
While you are learning how to use your Instant Pot properly, it is essential to remember that it is much like having your chef right at your fingertips! By learning how to cook with your Instant Pot, you will be able to take typical cooking and preparing food items and make them into a delicious and healthy meal that your entire family will love.
Related Posts
Should you buy an Instant Pot? – Here’s what you need to know
Instant Pots have emerged as a standard in small kitchen...
Read More Post Views: 1,264
Why Trust Us
You will find what you are looking for at Jody's Bakery. From classic to luxury brands, you'll find both. We will help you to select appliances that fit your needs, budget and lifestyle. Whether you want to stop by to learn more — or plan to make a major purchase — we’ll treat you like family and assist you every step of the way. Shop with us today to receive friendly and experienced help along the way.


… [Trackback]
[…] Read More here on that Topic: jodysbakery.com/how-to-use-an-instant-pot/ […]
… [Trackback]
[…] Read More Info here to that Topic: jodysbakery.com/how-to-use-an-instant-pot/ […]
… [Trackback]
[…] Info on that Topic: jodysbakery.com/how-to-use-an-instant-pot/ […]
… [Trackback]
[…] Read More here on that Topic: jodysbakery.com/how-to-use-an-instant-pot/ […]
… [Trackback]
[…] Find More Info here to that Topic: jodysbakery.com/how-to-use-an-instant-pot/ […]
… [Trackback]
[…] Find More on to that Topic: jodysbakery.com/how-to-use-an-instant-pot/ […]
… [Trackback]
[…] Here you can find 68237 additional Information to that Topic: jodysbakery.com/how-to-use-an-instant-pot/ […]
… [Trackback]
[…] Find More to that Topic: jodysbakery.com/how-to-use-an-instant-pot/ […]
… [Trackback]
[…] Info to that Topic: jodysbakery.com/how-to-use-an-instant-pot/ […]