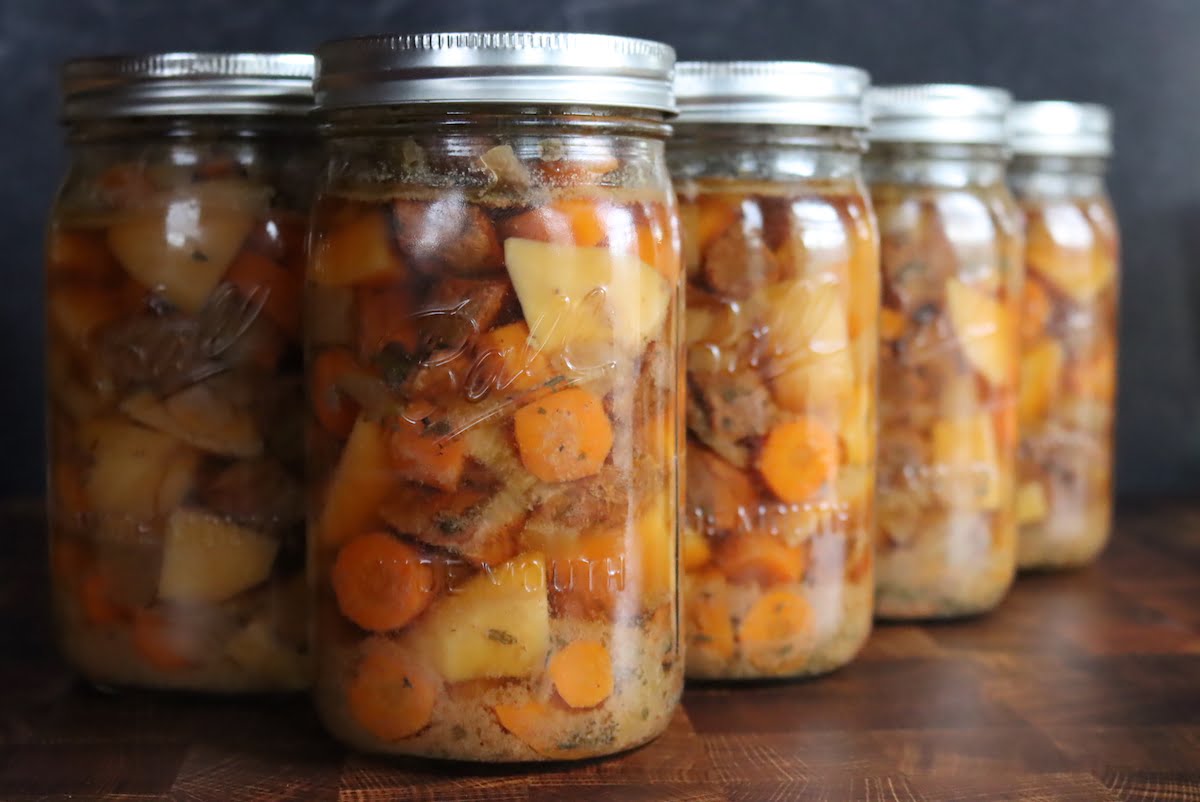
Pressure canning is a great way to preserve homemade soup for later use. By using a pressure canner, you can safely store your soup without the need for refrigeration or freezing.
This makes it a convenient option for those who have limited freezer space or do not have access to reliable refrigeration. With proper preparation and processing, pressure canned soup can be stored for up to a year, making it a great way to have quick and easy meals on hand.
Why should you use a pressure canner for Pressure Canning Soup?
Soup is a low-acid food and can contain harmful bacteria that can cause foodborne illnesses if not stored and handled properly.
Pressure canning is the only safe method for canning low-acid foods such as soups, stews, and broths, as it uses high temperatures and pressure to destroy harmful bacteria such as Clostridium botulinum.
Using a pressure canner ensures that your canned soup is safe to eat and can be stored for an extended period of time without refrigeration. This makes it a convenient option for those who want to preserve their homemade soup for later use.
How to make Pressure Canning Soup in a pressure canner
Here’s a general overview of the steps involved in pressure canning soup:
- Prepare your soup: Start by making your soup, following a tested recipe from a reputable source. Avoid using thickeners such as flour or cornstarch, as they can interfere with the heat penetration during processing. Leave a recommended amount of headspace in the jars for expansion.
- Fill jars: Ladle the hot soup into clean, sterile jars, leaving the recommended amount of headspace as indicated in the recipe. Remove any air bubbles by inserting a spatula or a bubble remover tool.
- Apply lids and rings: Wipe the rims of the jars clean, apply the lids, and screw on the rings finger-tight.
- Load the jars into the pressure canner: Place the jars into the pressure canner according to the manufacturer’s instructions. Add the recommended amount of water to the canner, as indicated in the recipe or the canner’s manual.
- Process the jars: Secure the lid of the canner and heat it up until steam begins to escape from the vent. Let it vent for 10 minutes before closing the vent and allowing the pressure to build up to the recommended pressure, as specified in the recipe. Start the timer for the recommended processing time, which will vary depending on the size of the jars, the contents of the soup, and your altitude.
- Cool the canner and remove the jars: Once the processing time is complete, turn off the heat and let the pressure canner cool down completely. Do not force the canner to cool down quickly by putting it in cold water. Once the canner is depressurized, remove the lid, and carefully remove the jars with a jar lifter. Place the jars on a towel to cool for 12-24 hours before storing.
- Check the seals and store: After cooling, check the seals by pressing down on the center of the lid. If it’s firm and doesn’t move, the seal is good. Label and store the jars in a cool, dark place for up to a year. Any jars with a failed seal should be refrigerated and used within a few days.
Tips for making Pressure Canning Soup in a pressure canner
Here are some tips to help you make the most of your pressure canning soup:
- Use a tested recipe: Use a tested recipe from a reputable source, as it will ensure that the ingredients and processing times are safe and effective.
- Avoid thickening agents: Avoid using thickening agents such as flour or cornstarch, as they can interfere with the heat penetration during processing.
- Follow headspace guidelines: Follow the recommended headspace guidelines to allow for expansion during processing.
- Don’t overfill the jars: Don’t overfill the jars, as this can cause the contents to bubble over during processing, leading to an improper seal.
- Use a canning funnel: Use a canning funnel to fill the jars, as it will help you avoid spilling soup on the jar rims, which can interfere with the seal.
- Use a jar lifter: Use a jar lifter to remove the jars from the canner to avoid burns or breaking the jars.
- Clean the canner: Clean the canner thoroughly after each use, following the manufacturer’s instructions.
- Check seals before storage: Check the seals on the jars before storing them, and discard any jars with failed seals.
- Store in a cool, dry place: Store the jars in a cool, dry place away from direct sunlight, and use them within a year for optimal quality.
Related Posts
Why Trust Us
You will find what you are looking for at Jody's Bakery. From classic to luxury brands, you'll find both. We will help you to select appliances that fit your needs, budget and lifestyle. Whether you want to stop by to learn more — or plan to make a major purchase — we’ll treat you like family and assist you every step of the way. Shop with us today to receive friendly and experienced help along the way.


