
You are in luck if you want to froth milk...
Read More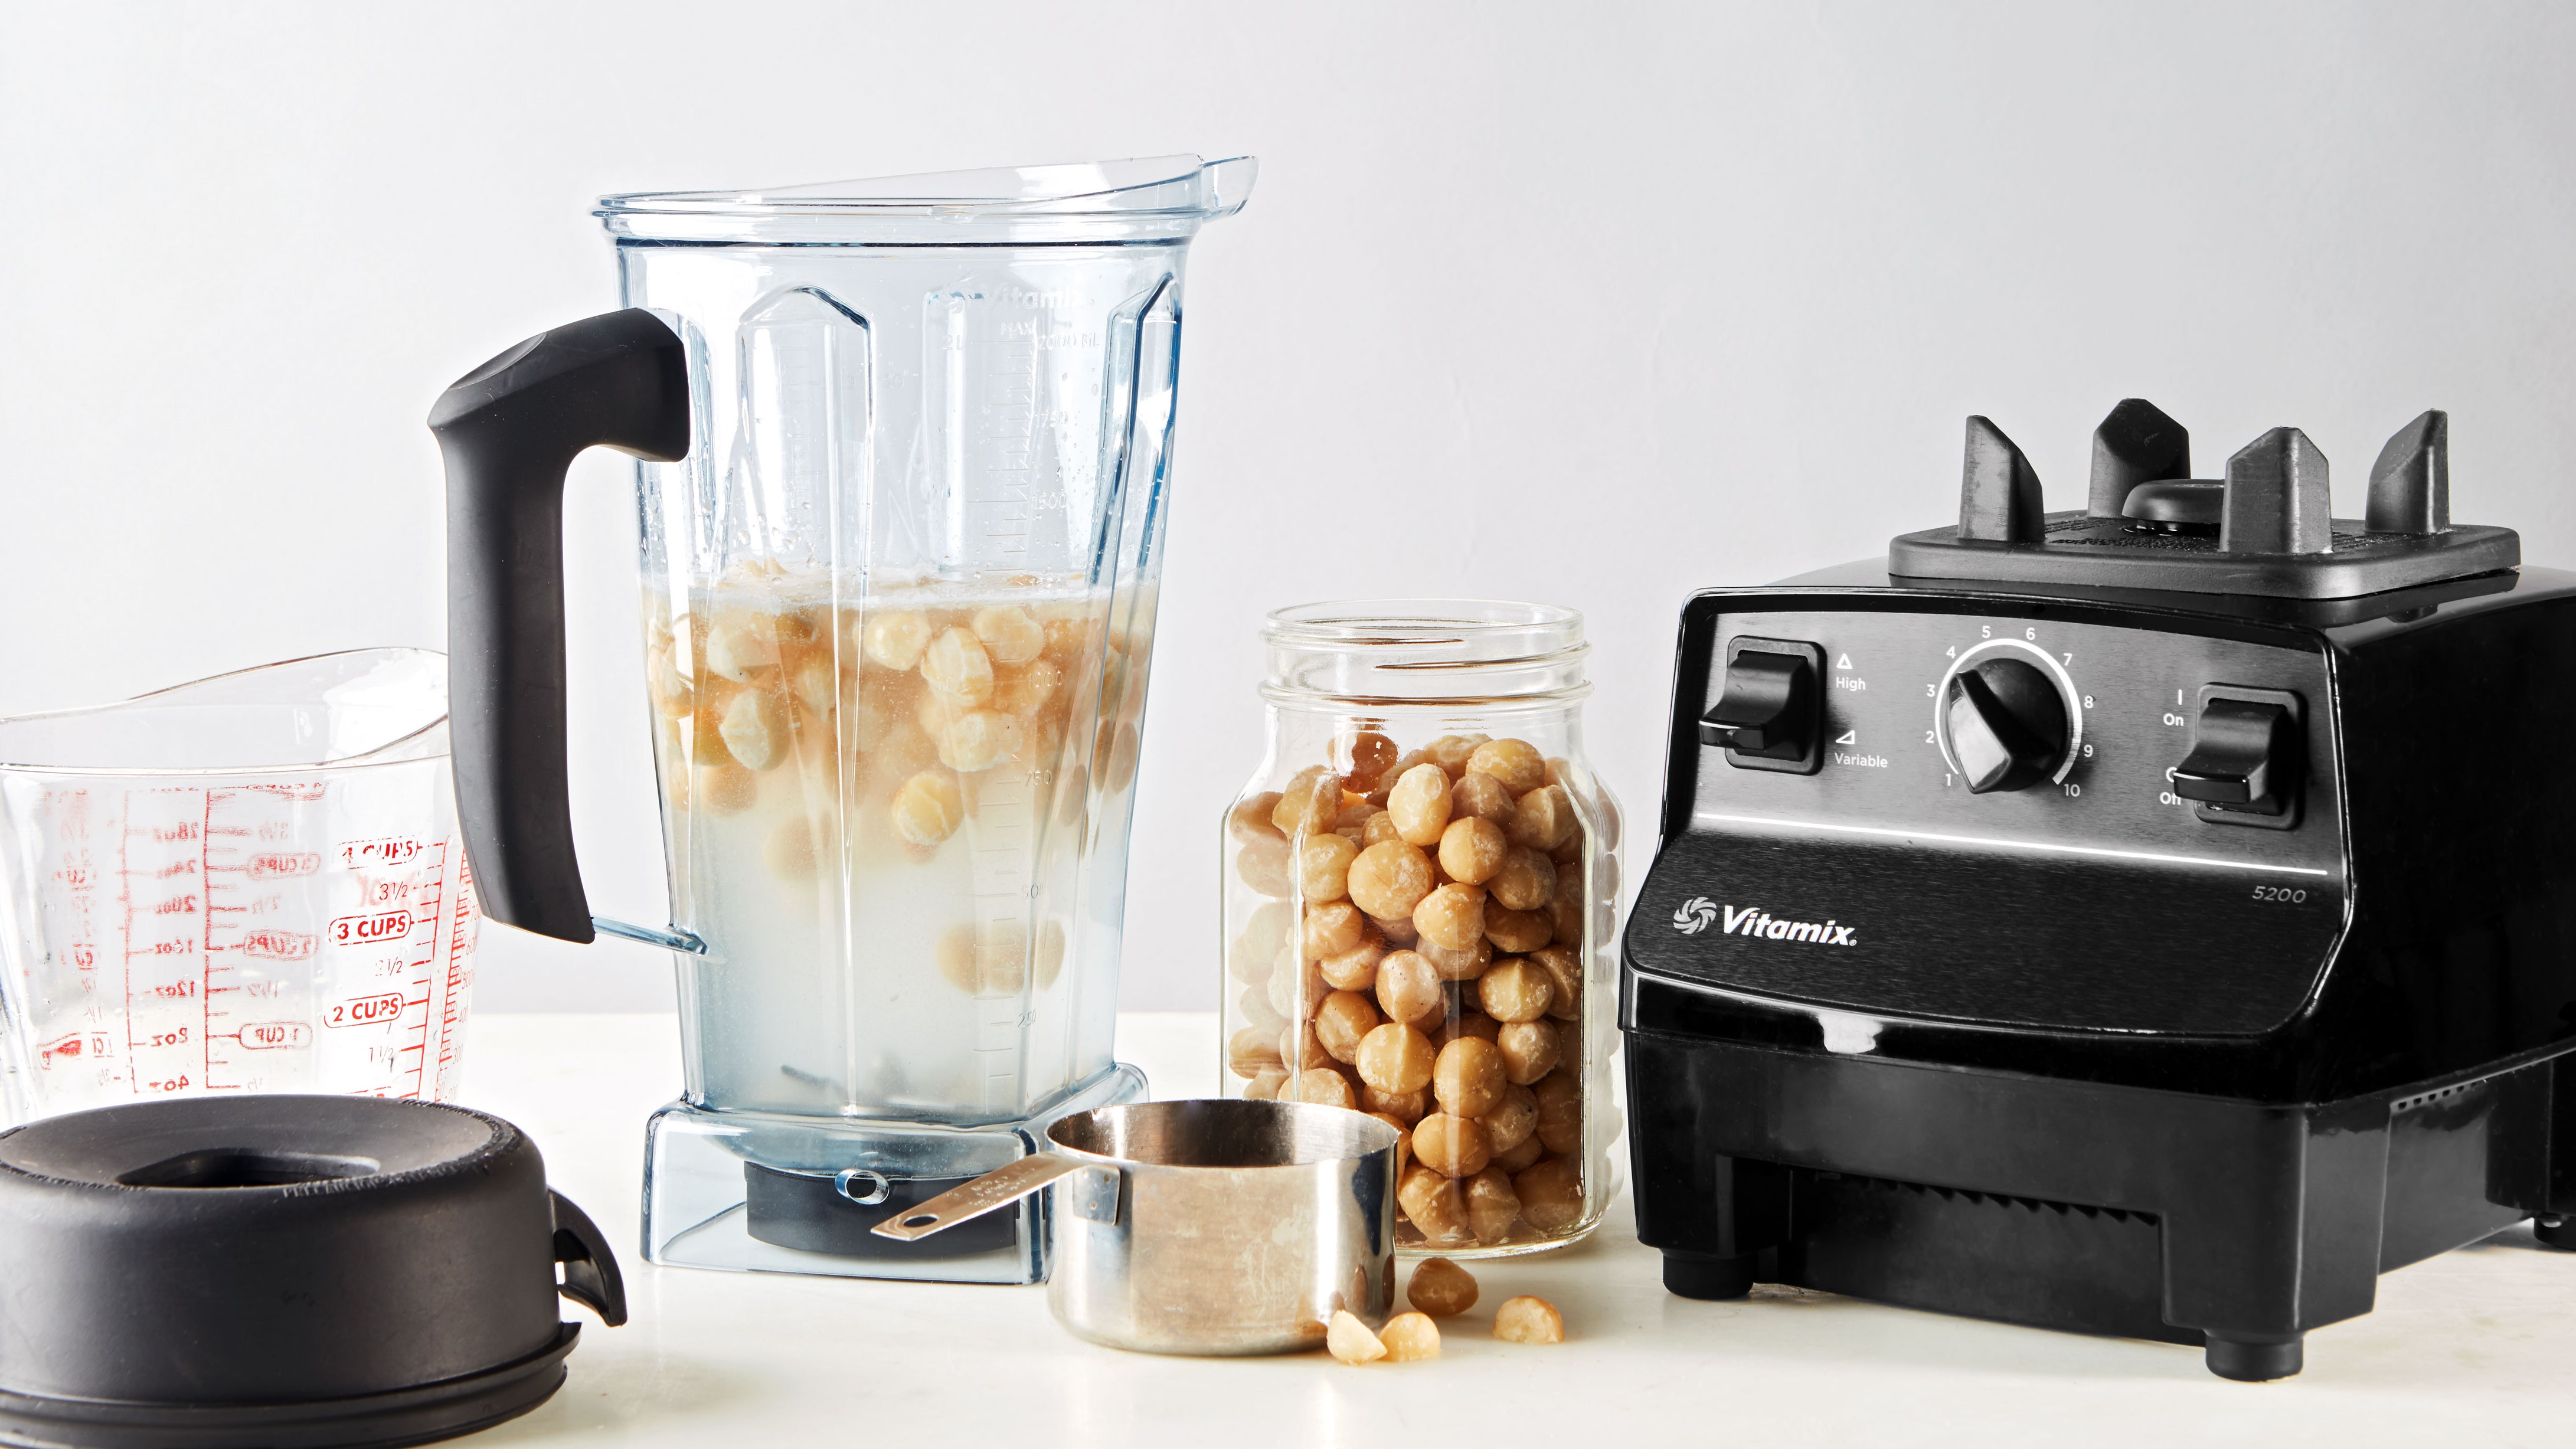
Blender is a versatile kitchen appliance that can be used to make a variety of foods and beverages, including almond milk. Almond milk is a popular dairy-free alternative to cow’s milk that is made from blending almonds and water together. Using a blender to make almond milk allows you to easily control the consistency and texture of the final product. Additionally, making your own almond milk at home with a blender is a cost-effective and healthier option compared to store-bought almond milk, as you can avoid any added preservatives or sweeteners. With the right ingredients and blender settings, you can create a creamy and delicious almond milk that can be used in a variety of recipes or enjoyed on its own.
Can I blend almonds in a blender?
Yes, you can blend almonds in a blender. In fact, a blender is the perfect tool for grinding almonds into a fine powder or turning them into almond milk. When blending almonds, it’s best to soak them first to help soften them and make them easier to blend.
Can you use a regular blender to make almond milk?
Yes, you can use a regular blender to make almond milk. While high-performance blenders like Vitamix or Blendtec may be more efficient, a regular blender can also get the job done. To make almond milk with a regular blender, you will need to soak your almonds overnight or for at least 6-8 hours to soften them before blending. This will help to achieve a smoother consistency and easier blending.
After soaking the almonds, you can drain and rinse them, and then blend them with fresh water in a 1:4 ratio (1 cup of almonds to 4 cups of water) until smooth. Once blended, strain the mixture through a nut milk bag or cheesecloth to separate the milk from the pulp.
While using a regular blender may require a bit more patience and straining, it is still a viable option for making almond milk at home.
Is it cheaper to make own almond milk?
Yes, making your own almond milk can be cheaper than buying store-bought almond milk, especially if you consume it regularly. While the initial cost of purchasing a blender and almonds may be higher, the cost per serving of homemade almond milk is typically lower than store-bought almond milk.
For example, a 32-ounce carton of store-bought almond milk can cost around $2 to $3, while a pound of almonds can make about 4 to 5 batches of almond milk, which can yield up to 1 gallon or more of almond milk. Depending on the cost of almonds in your area, making your own almond milk can cost about $1 to $2 per batch or even less.
Additionally, making your own almond milk allows you to customize the taste and consistency to your liking, and you have control over the ingredients and additives used in the milk. This can be beneficial for those with dietary restrictions or preferences.
Does homemade almond milk taste better?
Homemade almond milk can taste better than store-bought almond milk, as you have full control over the ingredients and can customize the taste to your liking. Additionally, homemade almond milk tends to be creamier and richer in flavor compared to store-bought varieties, as it does not contain any additives or stabilizers.
By making your own almond milk, you can experiment with different flavors and sweeteners, such as vanilla extract or maple syrup, to create a taste that is tailored to your preference. The freshness of homemade almond milk can also contribute to its taste, as it does not undergo the same processing and packaging as store-bought almond milk.
Overall, the taste of homemade almond milk can be superior to store-bought varieties, making it a worthwhile option for those who enjoy almond milk regularly.
Do I need to soak almonds before blending?
While you don’t necessarily need to soak almonds before blending, soaking them can make the blending process easier and result in a smoother texture. Soaking almonds before blending can also help to remove some of the phytic acid present in the skin of the almonds, which can inhibit nutrient absorption.
To soak almonds before blending, simply place the almonds in a bowl and cover them with water. Let them soak for at least 6-8 hours or overnight. Once soaked, drain and rinse the almonds before blending.
Soaking almonds can also make them easier to digest, as it can help to break down some of the complex sugars and starches present in the almonds. If you have digestive issues, soaking almonds before blending can be especially beneficial.
Overall, while you can technically blend almonds without soaking them, soaking can improve the texture and nutritional value of your almond milk or ground almonds.
What is the ratio of water to almonds for almond milk?
The ratio of water to almonds for making almond milk is generally 4 cups of water to 1 cup of almonds. This ratio provides a good balance of creaminess and flavor for most people, but you can adjust the ratio based on your personal preference.
To make almond milk, you would soak 1 cup of almonds in water for at least 6-8 hours, drain and rinse them, and then blend them with 4 cups of fresh water in a blender. After blending, strain the mixture through a nut milk bag or cheesecloth to remove the almond pulp and you will have a smooth and creamy almond milk.
If you prefer a thinner consistency for your almond milk, you can increase the amount of water. Conversely, if you prefer a thicker and creamier almond milk, you can reduce the amount of water.
Ultimately, the ratio of water to almonds for almond milk is a matter of personal preference and experimentation. It’s a good idea to start with the 4:1 ratio and adjust as needed to achieve the desired consistency and flavor.
What is the best size blender for almond milk?
The best size blender for making almond milk depends on how much almond milk you plan to make at once. If you only need to make a small batch of almond milk, then a blender with a capacity of 32 ounces or less may be sufficient. However, if you plan to make larger batches of almond milk, then a blender with a capacity of 64 ounces or more would be ideal.
A blender with a larger capacity allows you to make more almond milk at once, which can save time and effort. However, it is important to note that larger blenders may also take up more counter space and may be heavier to handle.
Ultimately, the size of the blender you choose for making almond milk will depend on your personal preferences and needs. If you are uncertain about the size of blender you need, it may be helpful to consider the recipes you plan to make and how much almond milk you anticipate needing for those recipes.
What is the best blender for almond milk?
There are many blenders on the market that are capable of making almond milk, but some models may be more effective than others. Here are some features to look for when choosing a blender for making almond milk:
- Power: Look for a blender with a powerful motor that can easily blend almonds and water together to create a smooth, creamy milk.
- Capacity: Choose a blender with a large enough capacity to make the amount of almond milk you need. A blender with at least a 64-ounce container is recommended.
- Blades: The blades should be strong and durable, as they will need to blend the almonds into a smooth milk. Stainless steel blades are a good choice.
- Speed settings: A blender with multiple speed settings allows you to control the texture of your almond milk.
- Ease of cleaning: Choose a blender that is easy to clean, as blending almonds can leave behind a lot of residue.
Based on these factors, some of the best blenders for making almond milk include:
- Vitamix 5200 Blender
- Blendtec Total Classic Original Blender
- Ninja Professional Countertop Blender
- Breville BBL620 Fresh & Furious Blender
- Oster Versa Blender
These blenders are all powerful and durable, with strong blades and multiple speed settings to help you achieve the perfect consistency for your almond milk.
Benefits of using blender for almond milk
There are several benefits of using a blender to make almond milk, including:
- Better consistency: A blender is able to emulsify the almonds and water together, resulting in a smooth and creamy almond milk. This is difficult to achieve with other methods like juicing or using a food processor.
- Control over ingredients: Making almond milk with a blender allows you to have complete control over the ingredients you use. You can choose to add sweeteners or flavors, or keep it simple with just almonds and water.
- Cost-effective: Making almond milk at home with a blender can be a more cost-effective option compared to buying store-bought almond milk, especially if you use almonds in bulk.
- Nutritious: Homemade almond milk made with a blender can be a healthier alternative to store-bought almond milk, as you can avoid any added preservatives or sweeteners.
- Versatility: A blender is a versatile kitchen appliance that can be used for a variety of recipes beyond just almond milk, making it a valuable investment for any kitchen.
Overall, using a blender to make almond milk is a convenient and healthy way to enjoy this popular dairy-free milk alternative.
Is it better to make almond milk in a juicer or blender?
It is better to make almond milk in a blender than in a juicer. Juicers are designed to extract juice from fruits and vegetables, but they are not well-suited for making nut milk like almond milk. Juicers may be able to grind almonds, but they do not produce the same creamy consistency that you can achieve with a blender.
Blenders are the preferred tool for making almond milk because they are designed to blend and emulsify ingredients together, creating a smooth and creamy texture. With a blender, you can easily control the consistency and texture of your almond milk by adjusting the blending time and speed.
Additionally, making almond milk in a blender is a cost-effective and healthy option compared to store-bought almond milk. You can avoid any added preservatives or sweeteners that may be present in commercial almond milk.
Overall, while juicers may be useful for other purposes, a blender is the better choice for making almond milk.
How to use blender for almond milk
Here are the steps to use a blender for making almond milk:
- Soak the almonds: Before blending, soak the almonds in water for at least 6-8 hours or overnight. This will help soften them and make them easier to blend. Drain and rinse the almonds before blending.
- Add almonds and water to the blender: Place the soaked almonds and fresh water in the blender in a 1:4 ratio (1 cup of almonds to 4 cups of water).
- Blend: Blend the mixture on high speed for 1-2 minutes or until the almonds are fully broken down and the mixture is smooth and creamy.
- Strain: Pour the mixture through a nut milk bag or cheesecloth into a large bowl to separate the milk from the almond pulp. Squeeze out as much milk as possible.
- Optional: If desired, you can sweeten the almond milk with sweeteners such as honey or dates, or add flavors such as vanilla extract.
- Store and enjoy: Transfer the almond milk to an airtight container and refrigerate for up to 5 days. Shake well before use and enjoy!
It’s important to note that using a blender to make almond milk can leave behind some pulp, which may require straining to achieve a smoother consistency. However, the end result is a creamy, delicious and nutritious milk alternative that can be enjoyed on its own or used in a variety of recipes.
How long does it take to use blender for almond milk?
The amount of time it takes to make almond milk in a blender will depend on several factors, such as the power of the blender, the quantity of almonds and water, and the desired consistency of the almond milk.
In general, it takes about 5-10 minutes to make almond milk in a blender. Here is a general process for making almond milk in a blender:
- Soak the almonds in water for at least 6-8 hours, or overnight.
- Drain and rinse the almonds.
- Add the soaked almonds and fresh water to the blender in the ratio of 1 cup of almonds to 4 cups of water.
- Blend the almonds and water together for 1-2 minutes on high speed or until the mixture is smooth and creamy.
- Pour the mixture through a nut milk bag or cheesecloth to separate the almond pulp from the almond milk.
- Squeeze the nut milk bag or cheesecloth to extract as much milk as possible.
- Pour the almond milk into a jar or container and store it in the refrigerator.
Overall, making almond milk in a blender is a quick and easy process that can be done in just a few minutes.
Factors to consider when choosing the best blender for almond milk
When choosing the best blender for making almond milk, there are a few factors to consider:
- Power: Look for a blender with a high-powered motor, preferably with at least 1000 watts of power. A powerful motor will ensure that the almonds are blended thoroughly, resulting in a smooth and creamy texture.
- Capacity: Consider the size of the blender jar and make sure it is large enough to accommodate the amount of almond milk you want to make. A blender with a larger capacity is also useful if you want to blend other ingredients in addition to the almonds and water.
- Blades: Make sure the blender has strong and sharp blades that can easily grind the almonds. Stainless steel blades are generally the best option as they are durable and easy to clean.
- Speeds and settings: Look for a blender with variable speeds and settings, which can allow you to adjust the speed and consistency of your almond milk. Some blenders also come with preset settings, such as “smoothie” or “nut milk,” that can make it easier to blend your almond milk to the desired consistency.
- Ease of use and cleaning: Consider the ease of use and cleaning of the blender. Look for a blender with intuitive controls and removable parts that are dishwasher safe for easy cleaning.
- Price: Blenders vary in price, so consider your budget and choose a blender that offers good value for money and meets your needs.
Overall, a blender that is powerful, has sharp blades, a large capacity, variable speeds and settings, and is easy to use and clean will be ideal for making almond milk.
How to clean blender for almond milk
Cleaning a blender after making almond milk is a simple process that involves a few steps:
- Rinse: The first step is to rinse the blender jar and lid under hot running water immediately after use. This will help to remove any remaining almond milk residue before it dries and becomes harder to remove.
- Disassemble: Next, disassemble the blender by removing the blender jar from the base and unscrewing the lid.
- Wash: Wash the blender jar, lid, and any other detachable parts in warm soapy water, using a soft sponge or brush to gently scrub away any remaining almond milk residue.
- Rinse again: Rinse all the parts thoroughly under hot running water to remove any soap residue.
- Dry: Finally, allow the blender parts to air dry completely or dry them with a clean towel before reassembling the blender.
For a deeper clean, you can also use a mixture of warm water and white vinegar to soak the blender parts for a few minutes before washing them with warm soapy water. This can help to remove any stubborn almond milk residue and eliminate any lingering odors.
Overall, cleaning a blender after making almond milk is a simple process that can be done quickly and easily with a few basic tools and some warm soapy water.
How to maintain blender for almond milk properly
Proper maintenance of your blender is important to ensure it lasts for a long time and functions effectively. Here are some tips for maintaining your blender for almond milk:
- Regularly clean your blender: After each use, make sure to clean your blender thoroughly. This helps prevent bacteria and mold from growing in the blender and ensures it stays in good working condition.
- Check and clean the blender base: The blender base can often become clogged with food particles, especially if you make almond milk regularly. Check the base periodically and clean it as necessary to prevent the buildup of debris that can affect the blender’s performance.
- Do not overload the blender: Be careful not to overload your blender with too many almonds or water. Overloading can cause the motor to overheat and can damage the blender.
- Use the blender properly: Follow the manufacturer’s instructions for using the blender. Avoid using the blender for extended periods of time, and do not run the blender when it is empty.
- Store the blender properly: Store the blender in a cool, dry place when not in use, and make sure to keep the blades covered to prevent them from becoming dull or rusty.
- Replace the blender blades when necessary: Over time, blender blades can become dull or damaged, which can affect their performance. If you notice that your blender is not blending as well as it used to, it may be time to replace the blades.
By following these tips, you can maintain your blender for almond milk properly and ensure that it lasts for a long time while producing delicious and creamy almond milk.
Troubleshooting about blender for almond milk
Here are some common troubleshooting tips for using a blender for almond milk:
- Blender is not blending the almonds and water into a smooth consistency:
- Soak the almonds overnight or for at least 6-8 hours before blending.
- Use a powerful blender with sharp blades to ensure a smooth consistency.
- Use a higher water-to-almond ratio or strain the almond milk through a nut milk bag to remove any grainy bits.
- Almond milk is too thick or too thin:
- Adjust the water-to-almond ratio to your desired consistency.
- Blend the almond milk for a shorter or longer time depending on the consistency you want.
- Add more or less water to thin or thicken the almond milk as needed.
- Almond milk tastes bitter:
- Ensure that the almonds are fresh and not rancid.
- Use filtered or purified water to avoid any unwanted flavors.
- Add a sweetener such as dates, maple syrup, or honey to balance the flavor.
- Blender is difficult to clean:
- Rinse the blender with warm water immediately after use to prevent any residue from drying.
- Use a soft sponge or brush to clean the blender and blades gently.
- Use a mild soap if needed, but avoid abrasive cleaners that can damage the blender.
By following these troubleshooting tips, you can ensure that you get the best results when using a blender for almond milk.
Best blender for almond milk - FAQs
Here are some frequently asked questions about the best blender for almond milk:
Yes, a regular blender can be used to make almond milk. However, some blenders may not be powerful enough to blend almonds and water into a smooth consistency.
A blender with a capacity of 64 ounces or more is recommended for making almond milk. However, smaller blenders can also be used for smaller batches.
Yes, it is recommended to soak the almonds for at least 6-8 hours or overnight before blending them for almond milk. Soaking softens the almonds and makes them easier to blend, resulting in a smoother and creamier almond milk.
While some juicers can make almond milk, it is generally recommended to use a blender for the best results. Juicers are designed to extract juice from fruits and vegetables, and may not be as effective at blending almonds and water into a smooth and creamy consistency.
Factors to consider when choosing the best blender for almond milk include power, capacity, ease of use, and ease of cleaning. It is also important to consider the type of blades and the materials used to make the blender.
By understanding these common questions about the best blender for almond milk, you can make an informed decision when selecting a blender for your almond milk-making needs.
Conclusion
In conclusion, using a blender to make almond milk is a simple and cost-effective way to enjoy this plant-based milk alternative. When selecting a blender for almond milk, it’s important to consider the power of the blender, the capacity of the pitcher, and the ease of cleaning. A blender with at least 1000 watts of power and a 64-ounce pitcher is recommended.
To make almond milk with a blender, start by soaking the almonds in water overnight or for at least 6-8 hours. Rinse and drain the almonds, add them to the blender with water, and blend on high for 1-2 minutes. Strain the mixture through a nut milk bag or fine mesh sieve, and store the almond milk in the fridge for up to 4-5 days.
Homemade almond milk is not only cost-effective but also customizable to your taste preferences. By following the maintenance and cleaning tips, you can ensure the longevity of your blender and continue to enjoy fresh almond milk at home.
Related Posts
Best Blenders For Nut Butter Reviews
If you are a fan of nut butter, then you...
Read MoreWhat is the best blender for milkshakes
When it comes to milkshakes, there’s nothing quite like a...
Read More Post Views: 1,130
Why Trust Us
You will find what you are looking for at Jody's Bakery. From classic to luxury brands, you'll find both. We will help you to select appliances that fit your needs, budget and lifestyle. Whether you want to stop by to learn more — or plan to make a major purchase — we’ll treat you like family and assist you every step of the way. Shop with us today to receive friendly and experienced help along the way.


This was a fascinating read! The author did a fantastic job. I’d love to discuss this topic further. Click on my nickname for more engaging content!
… [Trackback]
[…] Find More here to that Topic: jodysbakery.com/what-is-the-best-blender-for-almond-milk/ […]
… [Trackback]
[…] Find More on to that Topic: jodysbakery.com/what-is-the-best-blender-for-almond-milk/ […]
… [Trackback]
[…] Read More on on that Topic: jodysbakery.com/what-is-the-best-blender-for-almond-milk/ […]
… [Trackback]
[…] Info to that Topic: jodysbakery.com/what-is-the-best-blender-for-almond-milk/ […]
… [Trackback]
[…] Find More to that Topic: jodysbakery.com/what-is-the-best-blender-for-almond-milk/ […]
… [Trackback]
[…] Find More Info here to that Topic: jodysbakery.com/what-is-the-best-blender-for-almond-milk/ […]
… [Trackback]
[…] Find More here on that Topic: jodysbakery.com/what-is-the-best-blender-for-almond-milk/ […]
… [Trackback]
[…] There you can find 71124 additional Info to that Topic: jodysbakery.com/what-is-the-best-blender-for-almond-milk/ […]
… [Trackback]
[…] Read More here to that Topic: jodysbakery.com/what-is-the-best-blender-for-almond-milk/ […]
… [Trackback]
[…] Find More Info here to that Topic: jodysbakery.com/what-is-the-best-blender-for-almond-milk/ […]
… [Trackback]
[…] Find More Information here on that Topic: jodysbakery.com/what-is-the-best-blender-for-almond-milk/ […]
… [Trackback]
[…] Find More on to that Topic: jodysbakery.com/what-is-the-best-blender-for-almond-milk/ […]
… [Trackback]
[…] Read More Info here on that Topic: jodysbakery.com/what-is-the-best-blender-for-almond-milk/ […]
… [Trackback]
[…] Read More on on that Topic: jodysbakery.com/what-is-the-best-blender-for-almond-milk/ […]
… [Trackback]
[…] Read More on that Topic: jodysbakery.com/what-is-the-best-blender-for-almond-milk/ […]
… [Trackback]
[…] Find More here on that Topic: jodysbakery.com/what-is-the-best-blender-for-almond-milk/ […]
… [Trackback]
[…] Information on that Topic: jodysbakery.com/what-is-the-best-blender-for-almond-milk/ […]
… [Trackback]
[…] Information to that Topic: jodysbakery.com/what-is-the-best-blender-for-almond-milk/ […]
… [Trackback]
[…] Read More here to that Topic: jodysbakery.com/what-is-the-best-blender-for-almond-milk/ […]