A banneton proofing basket, also known as a brotform or...
Read More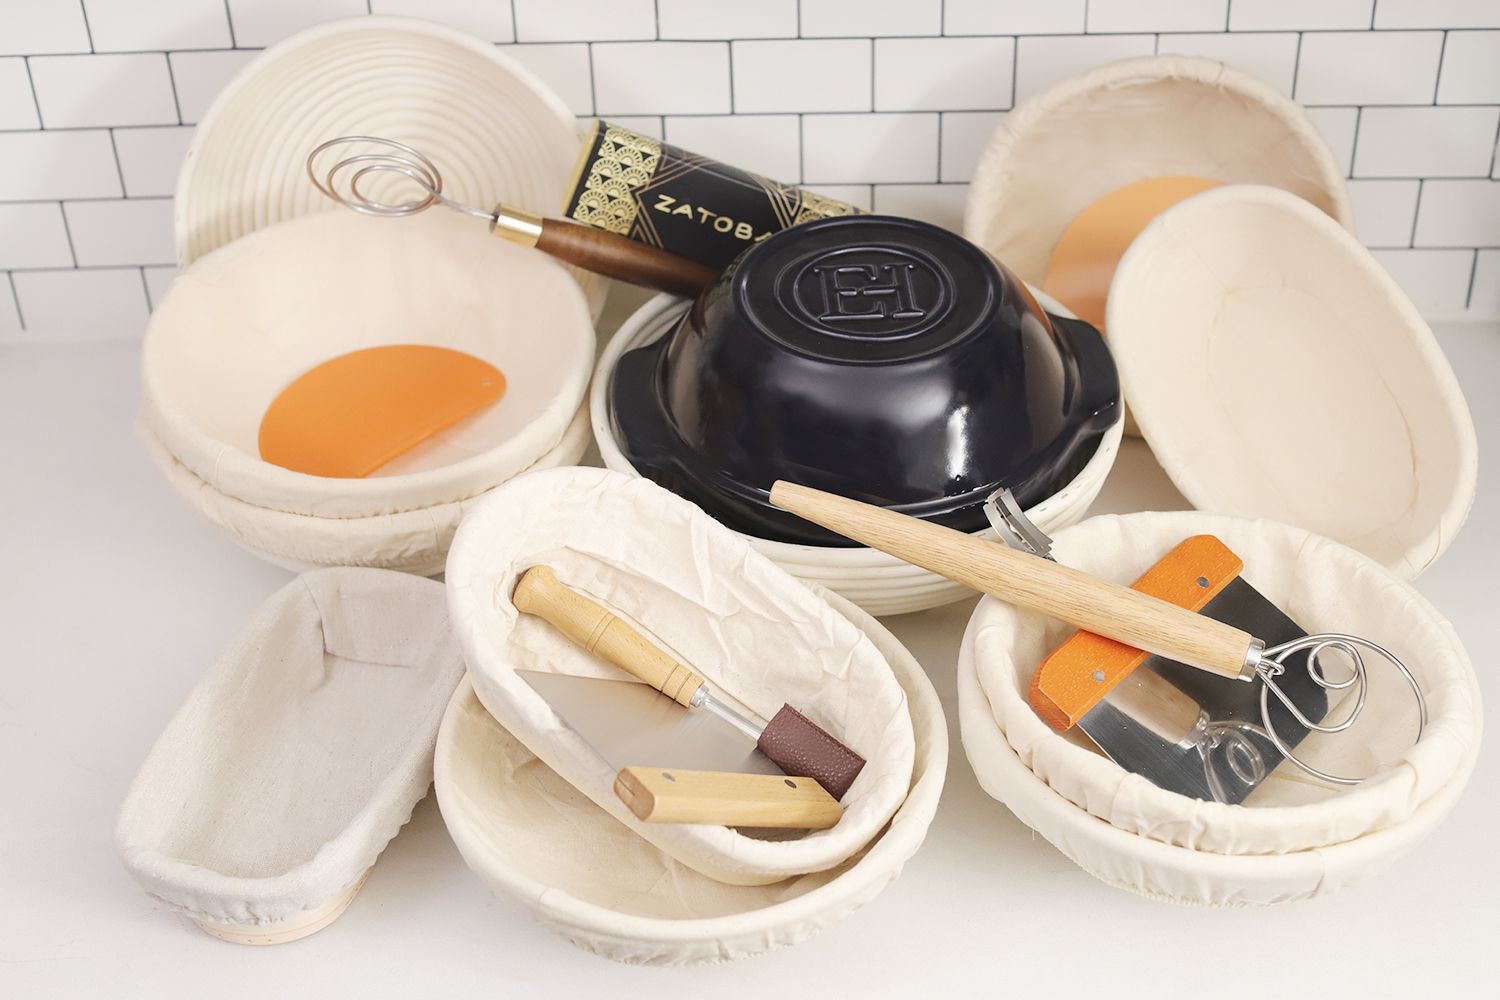
A sourdough proofing basket, also known as a banneton, is a specialized basket used for the final proofing stage of sourdough bread making. It is typically made from natural materials such as cane, rattan, or wood pulp and is designed to create the perfect environment for proofing sourdough dough.
The basket’s shape and material allow for optimal air circulation and moisture absorption, which helps create a crispy crust and airy crumb in the finished loaf. Using a sourdough proofing basket is a popular technique among home bakers and professional bakers alike and can help elevate the quality and appearance of your sourdough bread.

RORECAY Bread Banneton Proofing Basket Set of 2, 9 Inch Round & 10 Inch Oval Cane Sourdough Baskets with Bread Lame + Dough Scraper + Linen Liner + Basting…
5.0
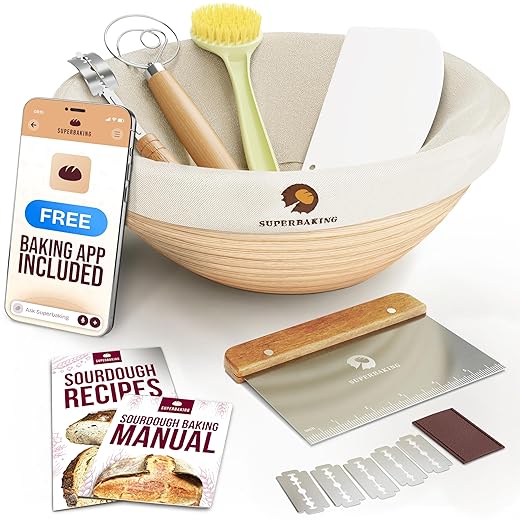
Superbaking Banneton Bread Proofing Basket Set, Round 9" Sourdough Proofing Basket for Bread Making Tools Supplies, Banneton Basket Sourdough Bread Baking…
5.0

9 Inch Proofing Basket,WERTIOO Banneton Bread Proofing Basket + Bread Lame +Dough Scraper+ Linen Liner Cloth Sourdough Bread Baking Supplies
5.0
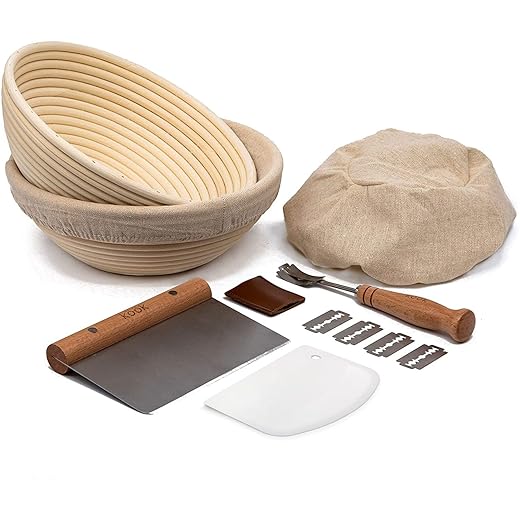
Proofing Set, by Kook, Sourdough Bread, 2 Rattan Banneton Baskets, 2 Basket Covers, Metal Scraper, Plastic Scraper, Scoring Lame, 5 Blades and Case, Round Shape
5.0

DOYOLLA Bread Proofing Baskets Set of 2 8.5 inch Round Dough Proofing Bowls w/Liners Perfect for Home Sourdough Bakers Baking
5.0
9.4'' Round Bread Banneton Proofing Basket with Linen Liner for Sourdough Proofing,Perfect Handmade Rattan Bowl for Making Beautiful Bread
5.0

Forsun 1pcs 10" Round Banneton Brotform Bread Dough Proofing Rising Rattan Basket & Liner,Banneton Proofing Basket Set – for Home Bakers (Sourdough Recipe) &…
5.0

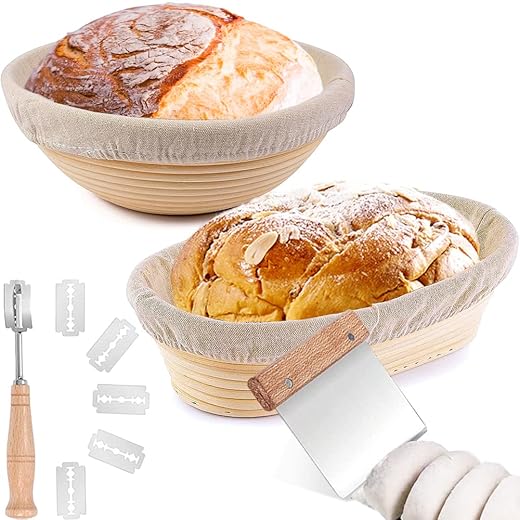
Bread Banneton Proofing Basket 9inch: Round Sourdough Proofing Basket for Artisan Bread Making for Professional and Home Bakers Set of 2
5.0

Set of 2 9 inch Round Bread Proofing Baskets Natural Rattan Banneton Sourdough Rising Bowl Basket with Dough Scraper + Bread Lame + Cloth Liner for Bakery…
5.0

Bread Banneton Proofing Basket Set, 10 Inch Round & 9.6 Inch Oval Bread Proofing Basket Natural Rattan Banneton for Sourdough with Dough Whisk + Dough…
5.0
Save 5% at checkout
What is sourdough proofing basket used for?
A sourdough proofing basket, also known as a banneton, is used for the final proofing stage of sourdough bread-making. After the dough has been mixed, kneaded, and allowed to rise, it is shaped into a round or oval shape and placed in the proofing basket to rise again.
The basket’s shape and material allow for optimal air circulation and moisture absorption, which helps create a crispy crust and airy crumb in the finished loaf. The basket’s structure also helps the dough keep its shape during the final proofing stage, which can help create a better rise and shape in the finished loaf.
Once the dough has finished proofing in the basket, it is gently turned out onto a baking sheet or Dutch oven for baking. The unique shape and texture created by the sourdough proofing basket can result in a beautifully shaped and textured loaf of sourdough bread.
Do you need a proofing basket for sourdough?
While a sourdough proofing basket, also known as a banneton, is a useful tool for proofing sourdough bread, it is not strictly necessary. There are other ways to proof sourdough dough without using a banneton, such as proofing in a bowl lined with a cloth or even proofing directly on a baking sheet.
However, using a banneton can have several advantages. It provides the dough with structure during proofing, which can help create a better rise and shape in the finished loaf. The basket’s shape and material also allow for optimal air circulation and moisture absorption, which helps create a crispy crust and airy crumb in the finished bread.
Ultimately, whether or not to use a sourdough proofing basket depends on your personal baking preferences and needs. If you are a beginner or prefer not to invest in specialized baking equipment, you may be able to achieve similar results without a banneton. However, if you are a more experienced baker or are looking to take your sourdough bread-making to the next level, a banneton proofing basket can be a useful tool to have in your kitchen.
What can I use as a proofing basket for sourdough?
While a dedicated sourdough proofing basket, also known as a banneton, is a useful tool for proofing sourdough bread, there are several alternatives that can be used in a pinch. Here are some common household items that can be used as a substitute for a proofing basket:
- Mixing bowls: Line a mixing bowl with a clean kitchen towel and dust the towel with flour. Shape your sourdough dough and place it in the bowl, seam-side up.
- Colander: Line a colander with a clean kitchen towel and dust the towel with flour. Place your sourdough dough in the colander, seam-side up.
- Loaf pan: Grease a loaf pan and line it with a clean kitchen towel dusted with flour. Shape your sourdough dough and place it in the pan, seam-side up.
- Baking sheet: Shape your sourdough dough into a round or oval shape and place it on a baking sheet lined with parchment paper. Cover the dough with a clean kitchen towel and let it rise.
It’s important to note that these substitutes may not create the same level of air circulation and moisture absorption as a dedicated proofing basket, so you may need to adjust your recipe or technique accordingly. Additionally, these substitutes may not create the same unique shape and texture that a proofing basket can create, but they can be a good option in a pinch.
What is the difference between a banneton and sourdough proofing basket?
There is no difference between a banneton and a sourdough proofing basket – the two terms refer to the same thing. A banneton is a type of proofing basket that is used specifically for sourdough bread. It is typically made from natural materials like rattan, cane, or bamboo, and has a spiral pattern on the inside that creates a decorative pattern on the finished loaf.
Some people may use the term “sourdough proofing basket” to refer specifically to a basket used for proofing sourdough bread, while others may use it as a more general term for any type of basket used for proofing bread dough. However, the terms banneton and sourdough proofing basket are generally interchangeable and refer to the same type of tool.
What is the best proofing for sourdough?
The best proofing method for sourdough will depend on a variety of factors, including the ambient temperature, the hydration level of the dough, and personal preference. Here are a few common methods for proofing sourdough:
- Banneton or Proofing Basket: A banneton, also known as a proofing basket, is a traditional tool for proofing sourdough bread. The basket is lined with a cloth or covered with flour to prevent sticking, and the dough is placed inside for the final rise. The basket provides structure and support to the dough as it rises, and the spiral pattern on the inside creates a decorative pattern on the finished loaf.
- Bowl or Container: If you don’t have a banneton, you can use a bowl or container to proof your dough. Simply line the bowl with a cloth or cover it with flour, place the dough inside, and let it rise until it has visibly expanded and feels airy to the touch.
- Oven with Light On: If your kitchen is particularly cold, you can use your oven as a warm, draft-free environment for proofing. Preheat your oven to its lowest temperature, then turn it off and turn on the oven light. Place the dough inside the oven and let it rise until it has doubled in size.
- Refrigerator: For a slow, extended proof, you can place your dough in the refrigerator. This method can help develop flavor and create a more open crumb structure in the finished loaf. Simply cover the dough tightly with plastic wrap or a lid, and let it proof in the refrigerator for several hours or overnight.
Ultimately, the best proofing method for your sourdough will depend on your personal preference and the conditions in your kitchen. Experiment with different methods to find what works best for you and your sourdough recipe.
What is the best material for sourdough proofing basket?
The best material for a sourdough proofing basket, also known as a banneton, is natural rattan cane. Rattan is a type of palm that is lightweight, durable, and flexible, making it ideal for weaving into baskets. Rattan bannetons allow for good air circulation and absorb moisture from the dough, creating a slightly drier surface that helps the dough to form a skin and rise evenly.
While there are other materials available, such as plastic and metal, these are not recommended for sourdough proofing as they do not absorb moisture well and may not allow for proper airflow. Additionally, they can create condensation on the surface of the dough, which can lead to a sticky texture and uneven rise. Natural rattan cane bannetons are a reliable choice for home bakers and professional bakers alike, and they can be found in a variety of shapes and sizes to suit different types of bread.
What is the best size for a sourdough proofing basket?
The best size for a sourdough proofing basket depends on the amount of dough you are working with and the size of the bread you want to make. Generally, a 8-9 inch round or oval banneton is suitable for a 1-2 pound loaf of bread, while a larger 10-11 inch banneton can be used for a 2-3 pound loaf.
It’s important to note that the dough will expand during the proofing process, so choose a basket that is slightly larger than the final size of the loaf you want to make. Additionally, consider the shape of the basket – round or oval baskets are the most common, but there are also rectangular and square baskets available.
Ultimately, the best size for your sourdough proofing basket will depend on your personal preferences and the size of the loaves you want to make. It’s always a good idea to have a few different sizes on hand to accommodate different recipes and baking needs.
What is the best shape for a sourdough proofing basket?
The best shape for a sourdough proofing basket depends on the type of bread you want to make and your personal preference. The most common shapes for sourdough proofing baskets are round and oval, but there are also rectangular and square baskets available.
Round baskets are ideal for round loaves, such as boules or batards, while oval baskets are better suited for longer loaves, such as baguettes or batards. Rectangular baskets are good for sandwich loaves, and square baskets are suitable for more unconventional shapes.
Ultimately, the shape of the basket will affect the final shape of your loaf, so choose a basket that is appropriate for the shape you want your bread to be. It’s always a good idea to have a few different shapes on hand to accommodate different recipes and baking needs.
Factors to choosing the best sourdough proofing basket
Here are some factors to consider when choosing the best sourdough proofing basket:
- Size: Consider the size of the proofing basket based on the amount of dough you usually make. A smaller basket will be appropriate for smaller loaves, while a larger one will be ideal for larger loaves.
- Shape: The shape of the basket can also impact the final shape of your bread. Some common shapes include round, oval, and rectangular. Consider the shape of the loaf you want to make when choosing the shape of the basket.
- Material: Sourdough proofing baskets can be made of different materials such as cane, bamboo, or rattan. Consider the material’s durability, sturdiness, and ability to absorb moisture. The material should also allow the bread to breathe and help form a nice crust.
- Lining: Some proofing baskets come with a linen or cotton liner. Consider whether you want a basket with a liner or not, as the liner can impact the pattern on the bread and how easily the dough releases from the basket.
- Brand and Price: Consider the brand and price of the proofing basket. Some popular brands may offer higher quality and durability, but they may also come with a higher price tag. Choose the option that fits your budget and needs.
Overall, the best sourdough proofing basket is one that meets your baking needs, is made of high-quality materials, and fits your budget.
How to use sourdough proofing basket
To use a sourdough proofing basket, follow these steps:
- Prepare your dough: Mix your sourdough dough according to your recipe.
- Shape your dough: Once your dough has gone through its first rise, shape it into a round or oblong shape. You can do this by gently folding the dough over onto itself a few times, then shaping it into a ball or a cylinder.
- Flour the proofing basket: Dust the inside of the sourdough proofing basket generously with flour, using a mixture of rice flour and all-purpose flour or wheat flour.
- Place your dough in the basket: Gently transfer your shaped dough into the floured proofing basket, seam side up. If you’re using a round basket, you can place the dough directly in the center. If you’re using an oblong basket, place the dough on one end of the basket.
- Cover and proof: Cover the basket with a clean kitchen towel or a plastic bag and let the dough proof for the recommended time, according to your recipe. The dough will rise and take on the shape of the basket.
- Preheat your oven: Preheat your oven to the desired temperature and prepare it for baking.
- Transfer your dough to a baking surface: When the dough has finished proofing, gently invert the basket onto a parchment-lined baking sheet or a baking stone. The dough should release easily from the basket, but you can give it a gentle shake if needed.
- Bake your sourdough: Bake your sourdough according to your recipe’s instructions, taking care not to deflate it in the process.
- Cool and enjoy: Once your sourdough is baked, let it cool on a wire rack for at least 30 minutes before slicing and serving.
How long should sourdough sit in proofing basket?
The length of time that sourdough should sit in a proofing basket, also known as a banneton, will depend on several factors, including the ambient temperature, the hydration level of the dough, and the recipe you are using. As a general rule of thumb, sourdough should sit in the proofing basket for 1-2 hours at room temperature, or until it has visibly expanded and feels airy to the touch.
However, it’s important to note that sourdough is a living organism, and its behavior can be somewhat unpredictable. If your dough is particularly active, it may rise more quickly, while a colder environment may slow down the proofing process. Additionally, different recipes may call for different proofing times, so it’s always a good idea to consult your recipe for guidance.
As you gain experience with sourdough baking, you may develop a better sense of how your dough behaves and how long it typically takes to proof. You can also perform a “poke test” to determine if your dough is ready to bake. Simply press your finger gently into the dough. If the indentation bounces back slowly, the dough is ready to bake. If the indentation bounces back quickly, the dough needs more time to proof.
What is the minimum proofing time for sourdough?
The minimum proofing time for sourdough depends on several factors, such as the ambient temperature, the strength of your starter, and the hydration level of your dough. Generally, sourdough needs to be proofed for at least 4-6 hours, but it can take up to 12-16 hours or even longer, depending on the conditions.
If you’re proofing your dough in a warm environment, such as a proofing box or a warm kitchen, the dough may proof faster. On the other hand, if you’re proofing in a cooler environment, such as a fridge, the proofing time may be longer.
It’s important to pay attention to the dough’s appearance and texture during the proofing process, as this can give you an indication of when it’s ready. The dough should be visibly risen and feel light and airy when pressed gently with a finger. Additionally, it should hold its shape when turned out of the proofing basket.
Ultimately, the minimum proofing time for sourdough will vary depending on the specific recipe and the conditions in which it’s being proofed. It’s best to follow the recipe’s instructions and use your own judgement to determine when the dough is ready.
Can I leave my sourdough proofing overnight?
The length of time to proof sourdough can vary depending on factors such as the ambient temperature and humidity, the strength of your sourdough starter, and the recipe you are following. However, in general, it is possible to leave sourdough to proof overnight, especially if you are using a refrigerated overnight proofing method.
If you plan to leave your sourdough to proof overnight at room temperature, it is important to consider the temperature of your kitchen. If it is warm and humid, the dough may proof faster than expected, while in a cooler environment, it may take longer to proof. In either case, it is important to monitor the dough regularly to avoid over-proofing, which can cause the dough to become weak and flat.
It is also important to consider the amount of sourdough starter used in your recipe. A larger amount of starter can result in a faster proofing time, while a smaller amount may take longer to proof.
Overall, leaving sourdough to proof overnight is possible, but it is important to adjust the proofing time and temperature according to your specific recipe and kitchen environment to avoid over-proofing.
Do you need the linen cloth in the sourdough proofing basket?
It is not necessary to use a linen cloth in a sourdough proofing basket, but it can be helpful in preventing the dough from sticking to the basket. If you are using a rattan or cane basket, it is recommended to dust it with flour before placing the dough to help it release easily. If you prefer to use a linen cloth, it should be lightly floured before placing the dough in the basket. Ultimately, it comes down to personal preference and the type of basket you are using.
How to clean sourdough proofing basket
To clean a sourdough proofing basket, gently brush off any excess flour or dough with a soft-bristled brush or a dry cloth. If there is any stubborn residue, you can use a damp cloth or sponge to wipe the basket, but avoid using soap or other cleaning agents as they may be absorbed into the basket and affect the taste of the dough. Allow the basket to air dry completely before storing it. If the basket has developed a strong odor or has mold growth, it may be time to replace it.
How to maintain sourdough proofing basket properly
Proper maintenance of a sourdough proofing basket will help extend its lifespan and keep it in good condition. Here are some tips on how to maintain a sourdough proofing basket:
- After each use, remove any excess flour or dough from the basket using a soft-bristled brush or a dry cloth.
- If the basket becomes particularly dirty or sticky, you can gently wipe it with a damp cloth or sponge, but avoid using soap or other cleaning agents.
- Allow the basket to air dry completely before storing it in a cool, dry place. Avoid exposing the basket to direct sunlight or moisture, which can cause it to become moldy or brittle.
- Periodically treat the basket with a light coating of oil or flour to help prevent the dough from sticking. Be sure to brush off any excess before using the basket.
- If you notice that the basket has developed a strong odor or has mold growth, it may be time to replace it.
With proper maintenance, a sourdough proofing basket can last for many years and help produce delicious, beautifully shaped loaves of bread.
Troubleshooting about sourdough proofing basket
Here are some troubleshooting tips for using a sourdough proofing basket:
- Sticking dough: If your dough is sticking to the proofing basket, you may need to use more flour or a different type of flour on the surface of the basket. Rice flour is a popular choice as it is less likely to clump and absorb moisture. You can also try lightly oiling the basket.
- Flat dough: If your dough is coming out flat, it may be over-proofed or the gluten may not be strong enough. Try reducing the proofing time or increasing the gluten development during the kneading process. You can also try using a higher protein flour.
- Unevenly proofed dough: If your dough is unevenly proofed, it may be due to uneven shaping or the proofing basket not being level. Make sure to shape the dough evenly and ensure the basket is level.
- Crusty residue: If there is crusty residue in your proofing basket, it may be due to flour or dough left in the basket after use. Make sure to thoroughly clean the basket after each use and allow it to fully dry before storing.
- Mold growth: If mold is growing on your proofing basket, it may be due to excess moisture. Make sure to fully dry the basket before storing and consider using a disinfectant or vinegar solution to clean the basket. You can also try using a liner such as a linen cloth or parchment paper to absorb excess moisture.
Remember that troubleshooting sourdough proofing baskets can vary depending on the specific recipe and individual circumstances. Experimenting with different methods and adjustments can help you find what works best for you.
Should you buy sourdough proofing basket?
Using a sourdough proofing basket can be beneficial for the final outcome of your sourdough bread. It helps the dough maintain its shape during proofing and allows for better airflow, resulting in a crusty and evenly-risen loaf. However, you can still make sourdough bread without a proofing basket by using a bowl lined with a towel or a colander lined with a cloth as an alternative.
Related Posts
Are bread proofing baskets worth it?
A bread proofing basket, also known as a banneton or...
Read MoreHow to choose the best bowl for proofing bread
Proofing bread is an essential step in the bread-making process...
Read More Post Views: 2,133
Why Trust Us
You will find what you are looking for at Jody's Bakery. From classic to luxury brands, you'll find both. We will help you to select appliances that fit your needs, budget and lifestyle. Whether you want to stop by to learn more — or plan to make a major purchase — we’ll treat you like family and assist you every step of the way. Shop with us today to receive friendly and experienced help along the way.

